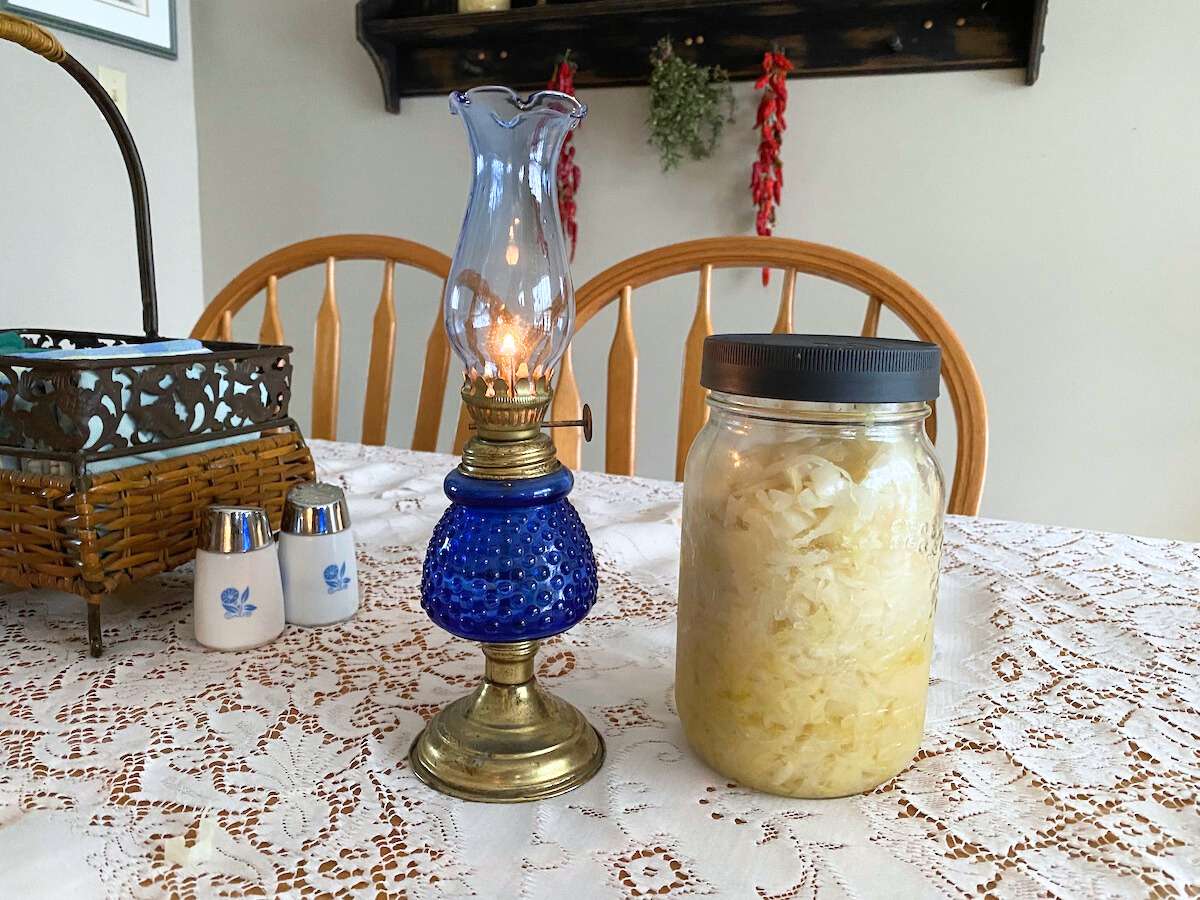
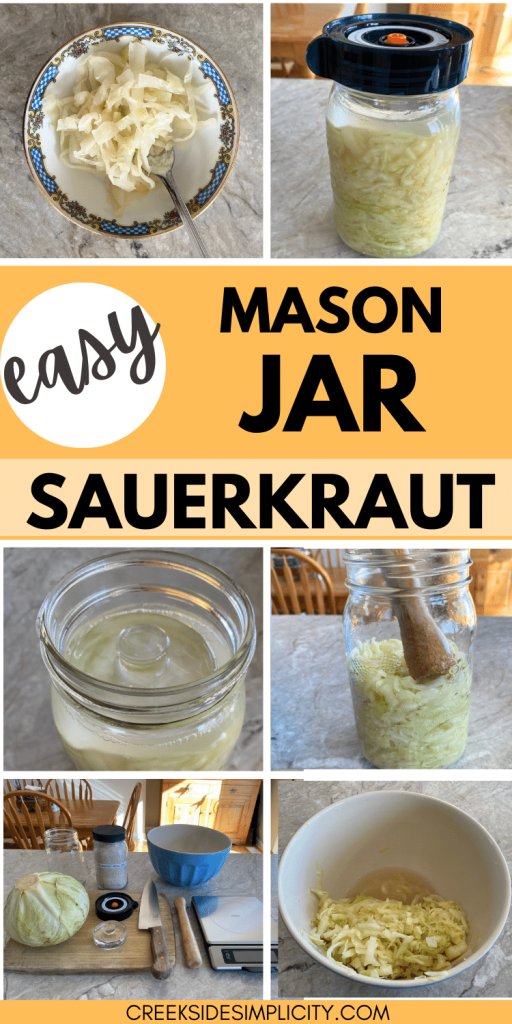
Easy Fermented Sauerkraut Recipe (In a Mason Jar)
Have you been wanting to learn how to make your own homemade sauerkraut, but have been too intimidated to try? This simple mason jar sauerkraut recipe uses just 2 ingredients: cabbage and salt.
What is Sauerkraut?
Sauerkraut (meaning sour cabbage in German) is simply shredded cabbage mixed with salt. When you leave cabbage and salt at room temperature, it begins to ferment.
Lactobacillus is the good bacteria that lives on the surface of the cabbage. This bacteria eats the natural sugars in the cabbage, and produces the tangy lactic acid. This is why you’ll frequently see the fermenting process referred to as lacto-fermentation.
Some people mistakenly think that the ‘lacto’ part of lacto-fermentation somehow relates to lactose, but there is no relationship between lactic acid and lactose.

What Are the Health Benefits of Sauerkraut
Sauerkraut is great for your gut health! It’s full of gut-healthy probiotics. Instead of taking a daily probiotic, you can simply eat a small amount of sauerkraut or other fermented foods each day.
Eating sauerkraut can support your digestion, as it contains enzymes that help to break down nutrients into smaller, more digestible molecules.
Sauerkraut can also support a healthy immune system. The bacteria in your gut have a strong influence on your immune system.
Sauerkraut is also rich in vitamin C and iron.
Sauerkraut can help support a positive mood and emotions, and overall brain health. Since a good portion of our neurons live in our gut (this is known as the gut-brain axis), it only makes sense that eating gut-healthy foods would improve our mental well-being.
Is All Sauerkraut Fermented?
Traditional sauerkraut is fermented, but did you know that a lot of the sauerkraut you can find at the grocery store is not fermented?
Fermented Sauerkraut uses cabbage and salt. If your store-bought sauerkraut uses vinegar, then it is not fermented – it’s pickled.
Some sauerkraut may be fermented, but then subsequently pasteurized (the canning process would pasteurize the sauerkraut), which kills all the healthy bacteria, drastically reducing its health benefits.
A good way to know whether your store-bought sauerkraut is fermented or not, is by where you find it in the grocery store. If it’s on a regular shelf, then it is most likely pickled. Fermented sauerkraut will be found in a refrigerator. That’s because it needs to be kept cold in order to halt the fermentation process.
This post may contain affiliate links, which means if you make a purchase through one of these links, I make a small amount of commission at no extra cost to you. As an Amazon affiliate, I earn from qualifying purchases. See full disclosure here.
Ingredients for Mason Jar Sauerkraut
- green cabbage – look for fresh – approximately 1/2 of a medium head of cabbage
- salt (kosher, Himalayan, or sea salt – don’t use table salt)
Optional Additional Ingredients:
- caraway seeds
- carrots
- purple cabbage
- cloves of garlic
- juniper berries
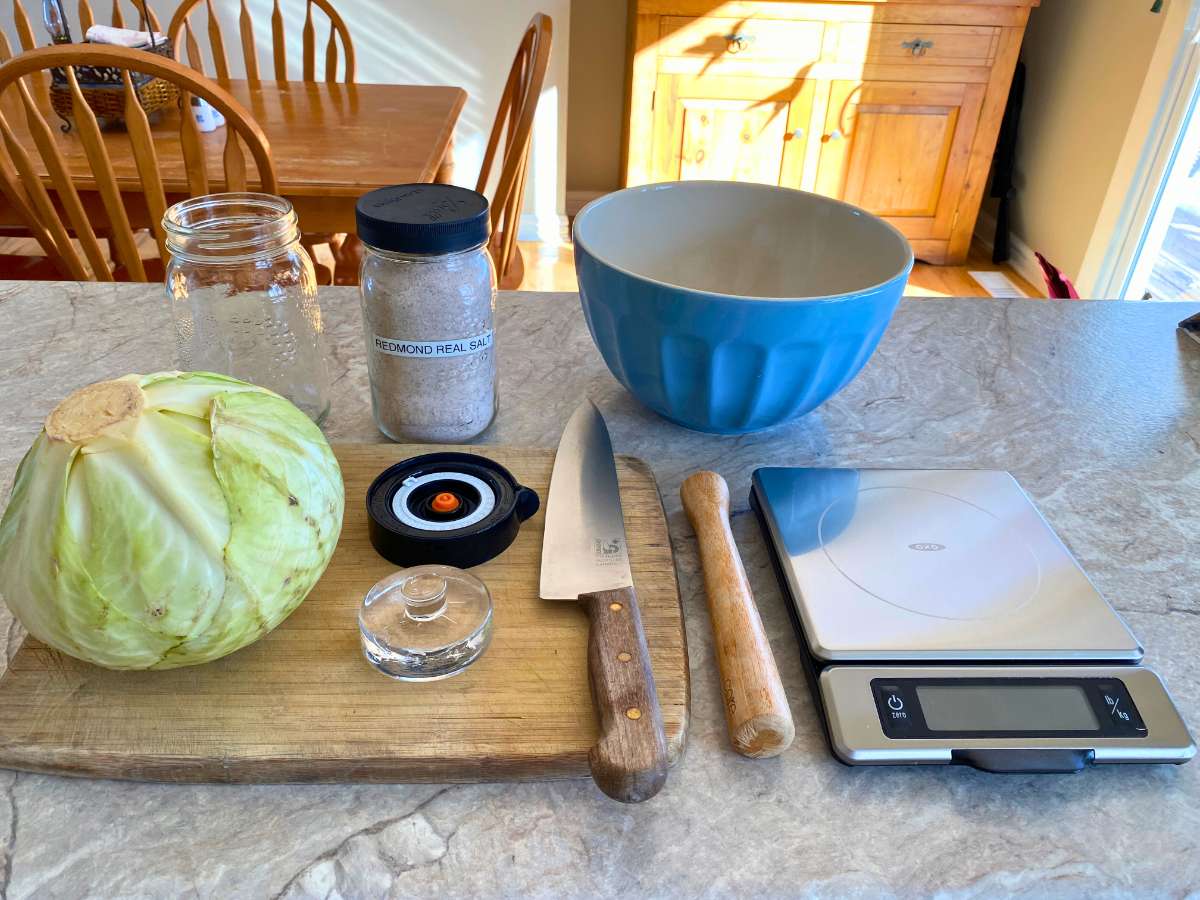
Tools Needed to Make Sauerkraut
Make sure all your equipment is as clean as possible. I always give everything a quick wash with hot soapy water before I begin. For fermentation, your equipment doesn’t have to be sterilized, just clean.
If there are items on this list that you don’t have, you can improvise! These tools will make it easier to make mason jar sauerkraut, but are not 100% necessary.
If you don’t have a mason jar but have some other type of vessel, use that.
If you don’t have a glass weight, use a heavy rock inside a ziplock bag, Or a small mason jar filled with water, which will fit inside the large mason jar.
If you don’t have a fermentation lid, use a cloth napkin secured around the top of the jar with a rubber band.
If you don’t have a kraut pounder, use a wooden spoon, or a pestle.
Weighing your ingredients is the preferred method for making sauerkraut, because it’s much more precise. However, I will also provide approximate measurements as well, so if you don’t have a kitchen scale, you can still make sauerkraut.
Remember that humans have been fermenting foods for hundreds of years – without any fancy equipment.
With all that said, these are the tools I recommend for making sauerkraut:
- Quart sized wide-mouth mason jar
- Fermentation kit (glass weights and fermentation lid)
- Cutting board
- Large mixing bowl
- Sharp knife, mandolin, or food processor
- Digital kitchen scale
- Kraut pounder
How to Make Mason Jar Sauerkraut
This mason jar sauerkraut recipe will make a small batch of sauerkraut – enough to fill one quart-sized (1 litre) mason jar.
You’ll use approximately one half of a medium-sized head of cabbage. If you wish, you can use the whole head, and make 2 jars.
Going by weight is the most precise way to make sauerkraut. That way you have exactly enough ingredients, and the precise amount of salt for optimal fermentation. My instructions will be based on weight. If you don’t have a kitchen scale, I highly recommend adding one to your kitchen equipment. It’s the most precise way to bake, make ferments, and it’s absolutely necessary for soap making, if that’s something you’ve thought about trying.
I’ve tried (and returned) several kitchen scales – my absolute favourite one is this one by OXO. I love that the scale will stay on for 30 minutes – my old scale would shut off after 2-3 minutes, leaving me frustrated if I had already added ingredients to the bowl on the scale.
This one also has a pull-out display, so you don’t have to stand on your head to read the number if you’re using a large bowl or pot. 🙂
1. Weigh Your Bowl

If using a scale, the first thing you want to do, is weigh your bowl. (This is called taring). Set the bowl on the scale, and hit the tare button (or the zero button, whichever one your scale has). This way you are not including the weight of the bowl in your measurements.
If your scale has a short shutoff time, you’ll want to write down the weight of your bowl, in case your scale shuts off and you need to subtract the weight of your bowl later.
2. Prepare Optional Additional Ingredients
If this is your first time making sauerkraut, I’d recommend starting with just a basic cabbage and salt version, until you get the hang of it.
If you’re planning to use any of the optional, additional ingredients (like carrots, ginger, caraway seeds, etc), you’ll want to add those first. This is because we want exactly 800 grams of vegetables – this is what your salt is based on, and also what will fit in a quart sized jar.
So shred/chop and add to the bowl your carrots, garlic, red cabbage, and toss in your caraway seeds if you want to use those.
3. Prepare and Shred the Cabbage
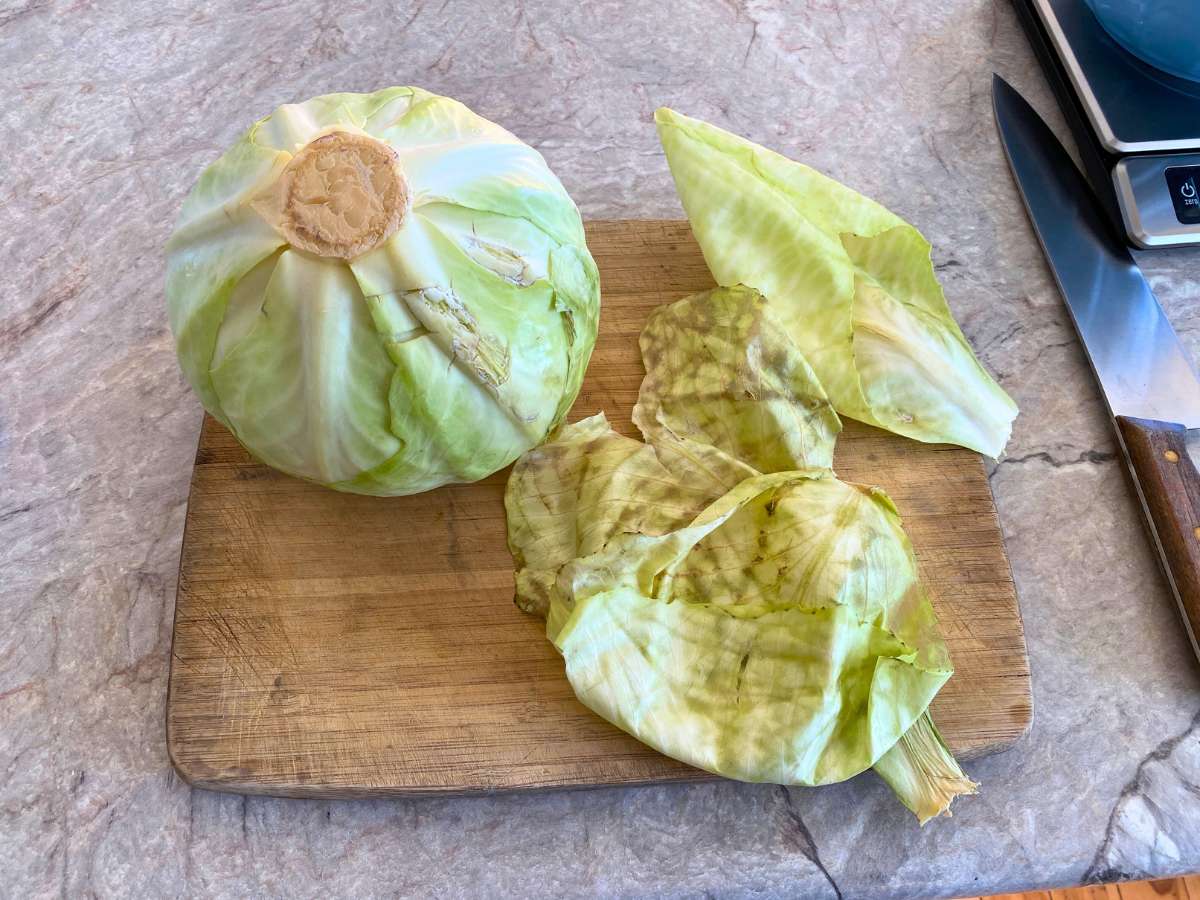
Don’t wash your cabbage. You want to leave the beneficial bacteria in tact. You’ll be removing the outer leaves anyway.
If you’re concerned about potential pesticides – don’t stress. Cabbage is on the ‘Clean 15‘ list, meaning it’s unlikely to have been sprayed. (Even if it was, the pesticide is taken up into the plant, so washing the outside doesn’t do much). If you’d prefer, you can try to find organic cabbage, or source it from a local farmer’s market, or better yet – your backyard garden. But run-of-the-mill grocery store cabbage should be just fine.
Remove and discard the limp, outer leaves of the cabbage. (If you have chickens, they will love these!). Save a crisp inner leaf – we will use this later to help keep the shredded cabbage submerged under the brine.
Quarter the cabbage lengthwise, leaving the core in tact (this helps keep the leaves together for easier slicing).
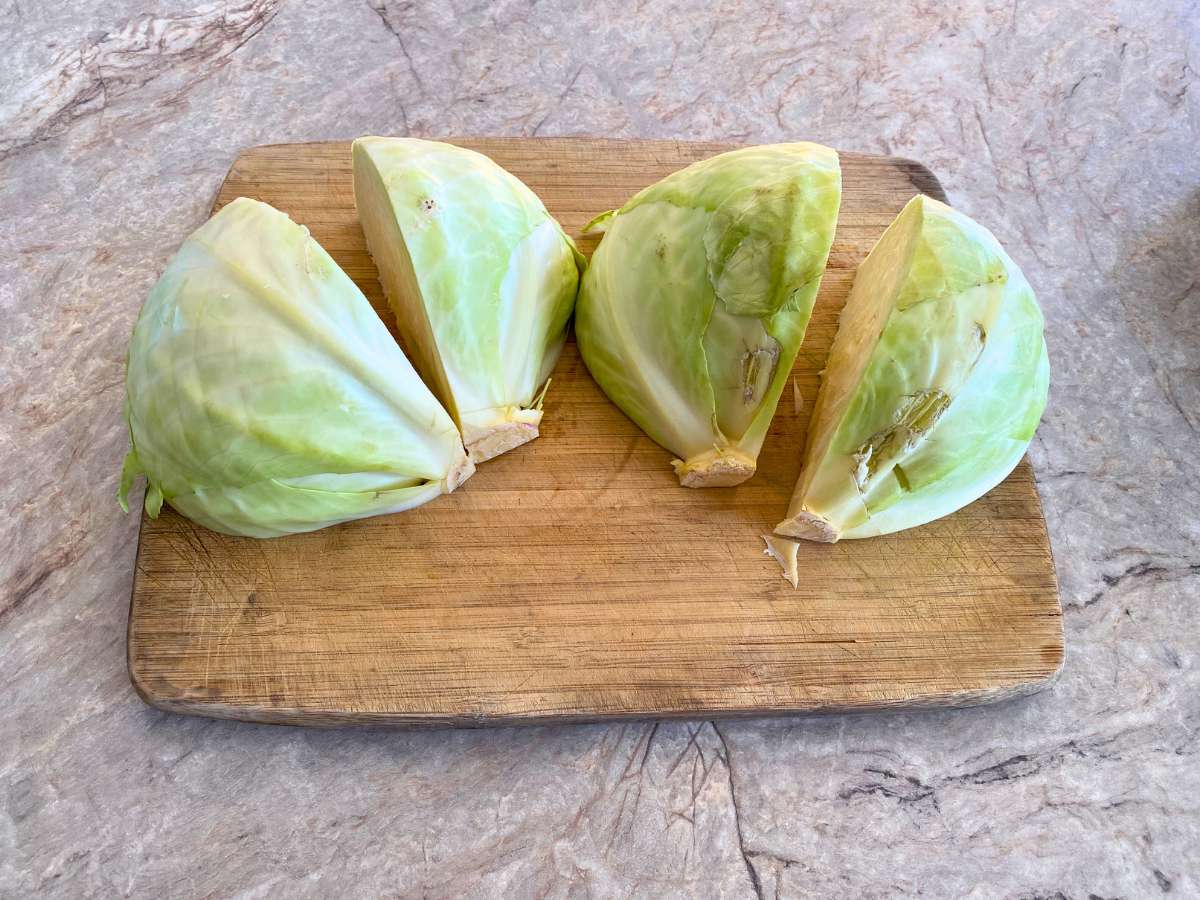
Using your sharp knife, slice your cabbage as finely as you can. The finer you slice it, the more surface area you have for the cabbage to release its liquid. You can use a food processor if you wish, but I find that a food processor makes it almost too fine – more of a coleslaw consistency. But a food processor is convenient and fast, so it’s up to you which you choose. I prefer to use a knife, which gives me more control over the thickness of the slices.
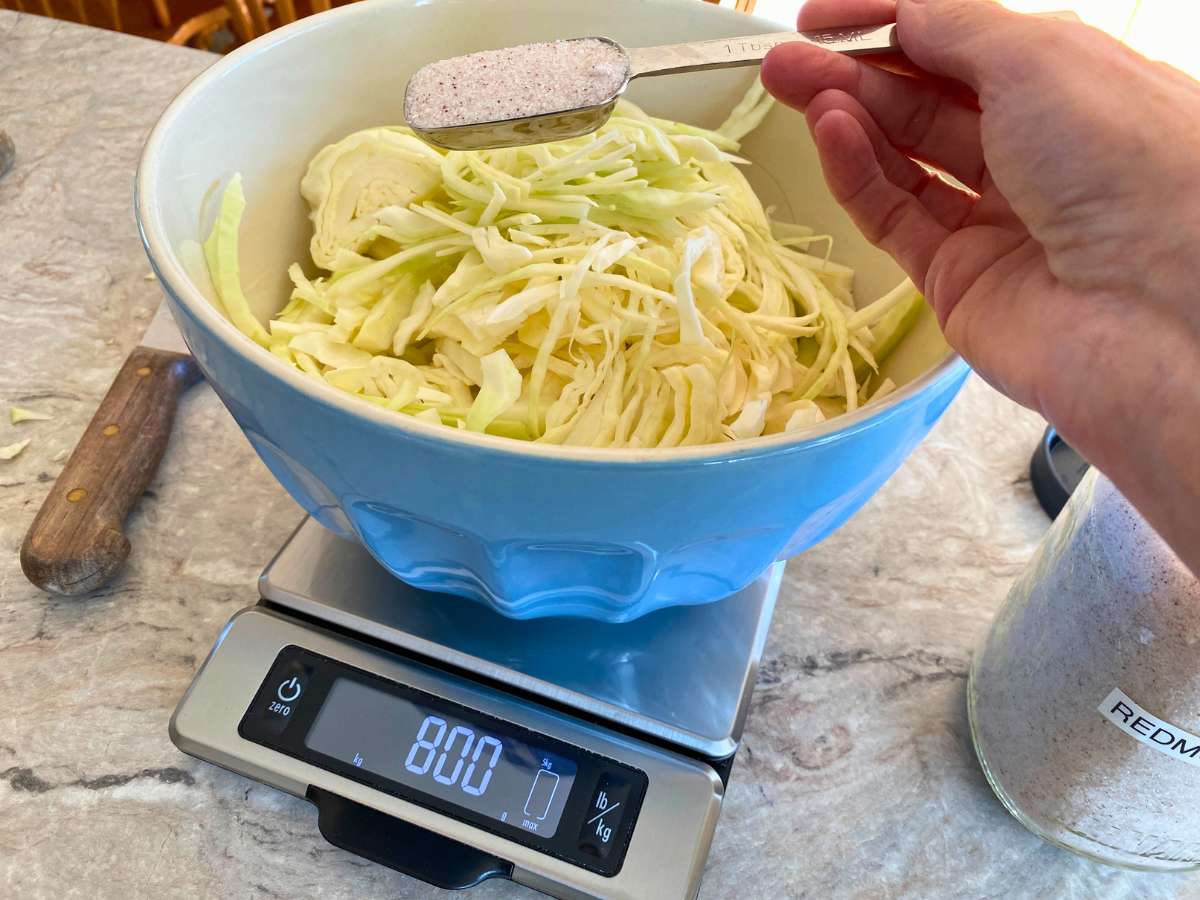
As you slice, add your cabbage to the bowl. Keep adding until the weight on your scale reads 800 grams (or 28 ounces).

4. Add Salt
Salt is what pulls the liquid out of your cabbage and creates the brine, which will kill off any harmful bacteria, while allowing the good bacteria (lactobacillus) to grow.
For 800 grams of vegetables, you will need 1 Tbsp (or 16 grams) of salt.
Remember to only use kosher, sea salt, or Himalayan salt for your ferments. You don’t want to use table salt. I use only Redmond’s Real Salt for everything – from fermenting, to canning, to daily use.
Sprinkle the salt over the vegetables in the bowl.
If you want to save some effort, you can mix in the salt with your hands, then let the cabbage sit for 20 minutes or so – this will begin to draw the liquid out of the cabbage, saving you a bit of time.
With clean hands, massage and squeeze the cabbage until it begins to release its juices.
This can be hard on your hands after awhile! Take a break if you need one. This should take 5-10 minutes. When it’s ready, you should notice a puddle of liquid in the bottom of the bowl.
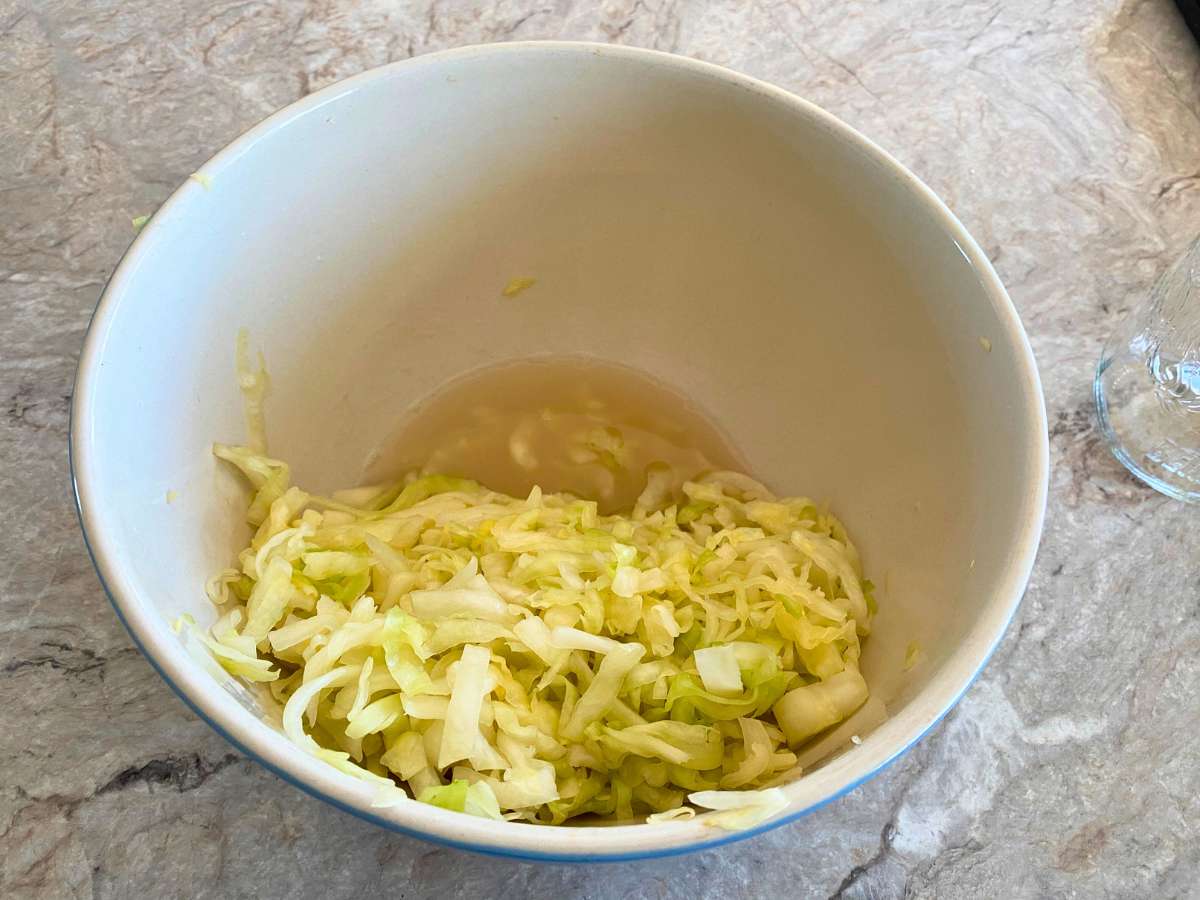
You’ll notice the volume of your cabbage getting smaller while you do this! Yes, all that cabbage will fit in your mason jar!
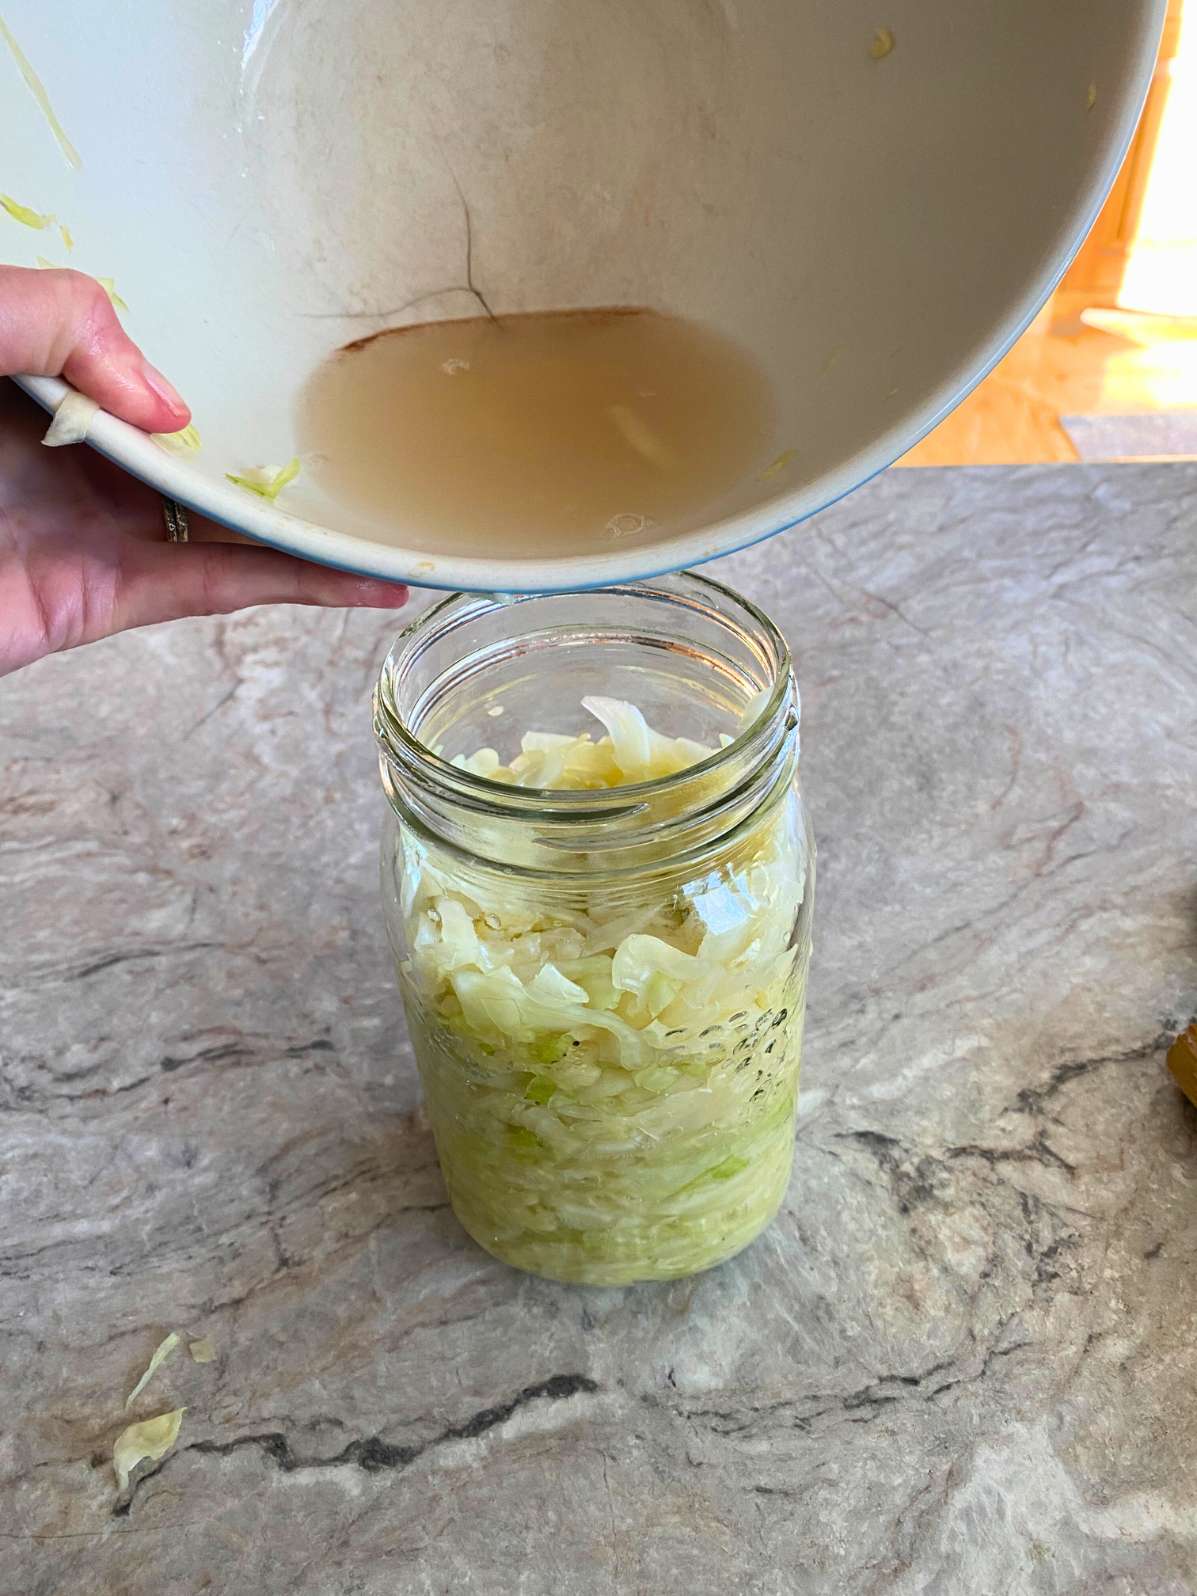
5. Pack into Mason Jar
Pack the cabbage into the mason jar in layers, pounding it down with the kraut pounder as you go. The kraut pounder will help to release even more juice. (If you don’t have a kraut pounder, simply use your fist, a wooden spoon, or even a pestle from a mortar and pestle).

Continue packing until air pockets have been removed. If you’ve used the 800 grams of cabbage, you should have 1″ or so of head space left at the top of the jar.
Pour any remaining brine from the bowl, or loose bits of cabbage, into the jar.
Wipe down the outside of the jar, and scrape down any bits of cabbage that are on the inside of the jar above your sauerkraut. Anything not submersed could mold.
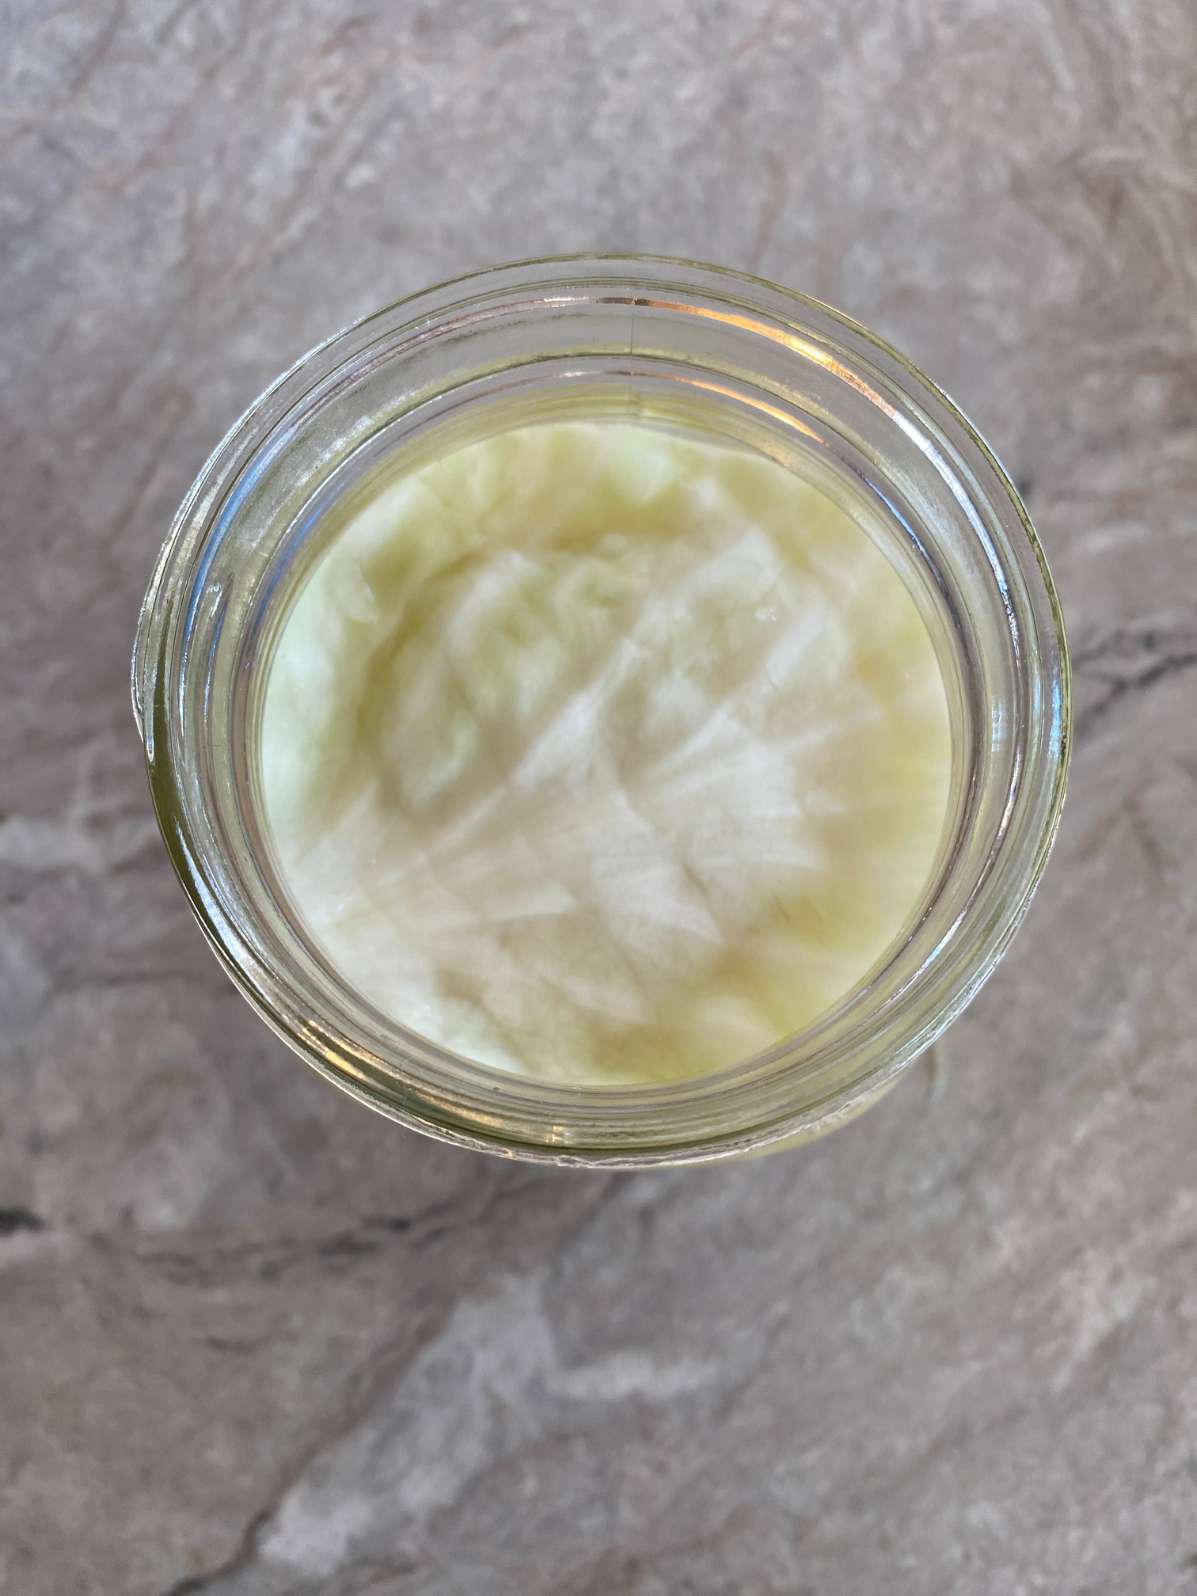
6. Apply Your Cabbage Leaf
This is optional, but placing a cabbage leaf on top of the sauerkraut will help prevent shredded vegetables from floating up above the brine.
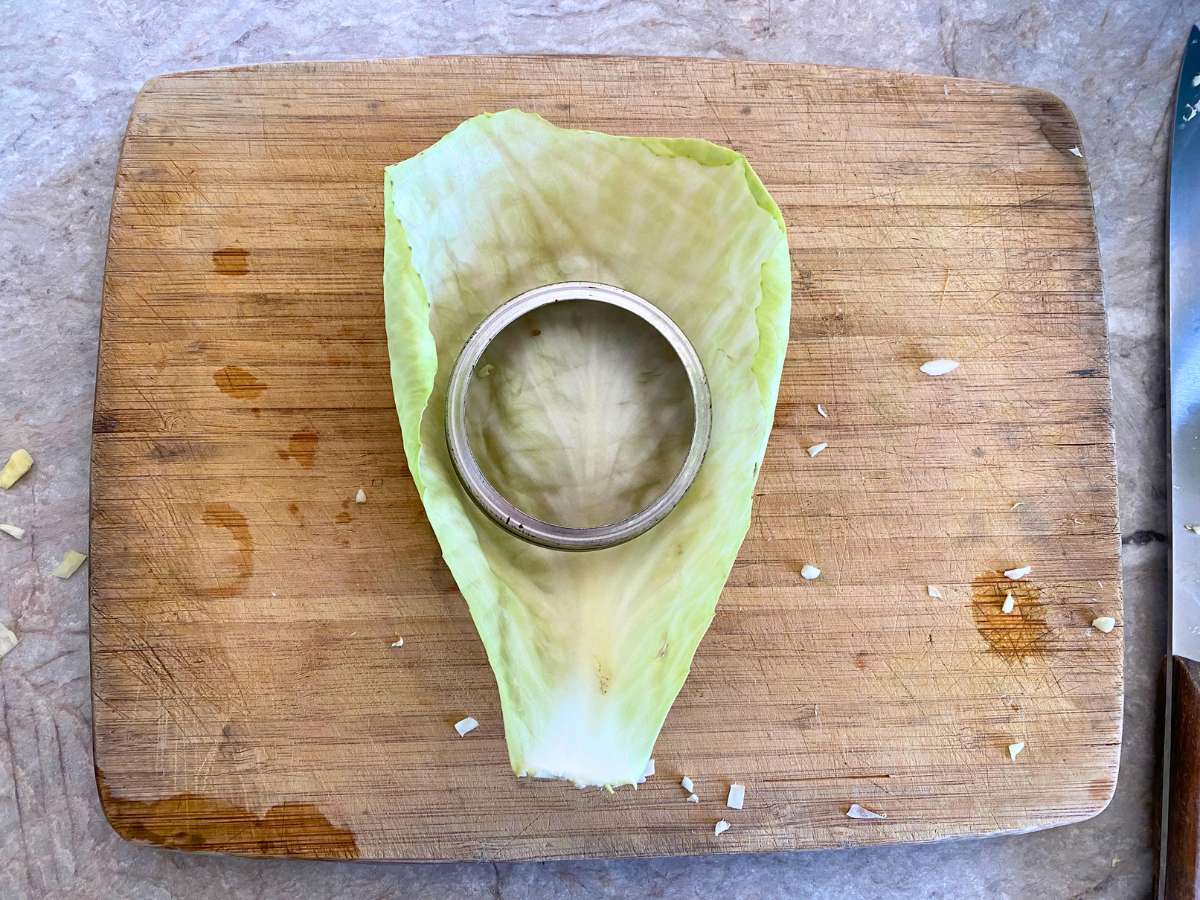
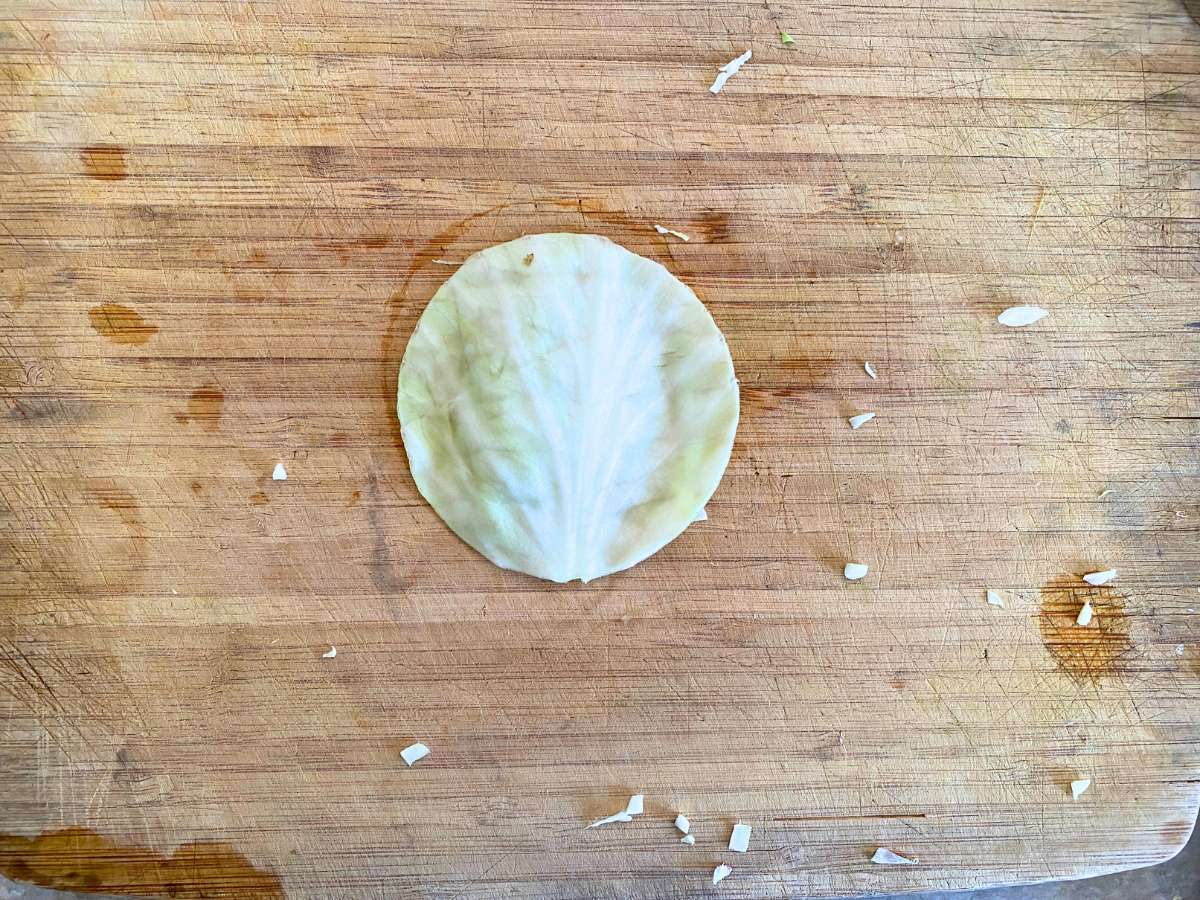
You can either shove it in and make it fit, or you can use a ring from a mason jar lid to make a template and cut out your cabbage. This makes your leaf the perfect size to fit inside your jar!
7. Apply Weight and Lid
Place your clean glass weight on top of the sauerkraut. Push it down until the liquid rises up, so that all the cabbage is fully submersed in the brine.
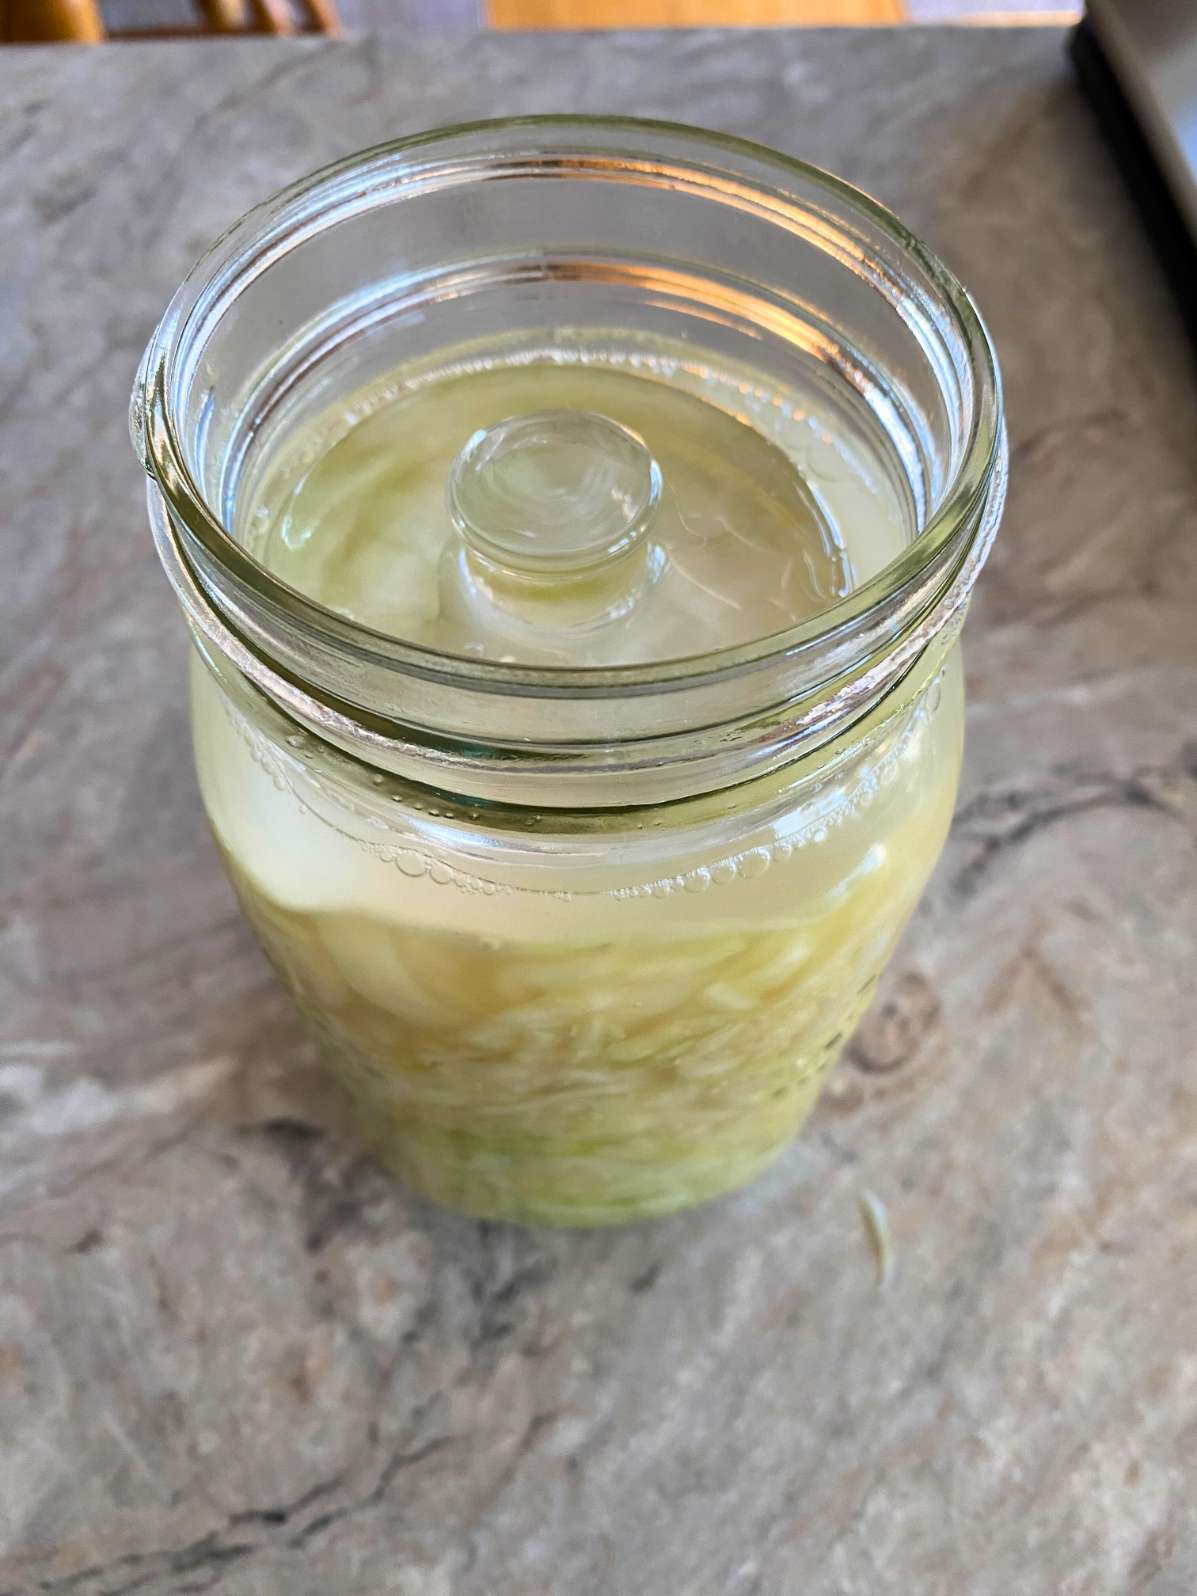
If you don’t have a glass weight, here’s where you can get creative. Some people will use a rock inside a ziplock bag. You just want something to weigh down the cabbage so all the cabbage is submersed under the brine. Even a small mason jar filled with water will work, if it fits inside your larger jar.
Now apply your fermentation lid. If you don’t have one, you can place a piece of cheesecloth, or even a napkin, over the top of the jar and secure with a rubber band. The idea is you want it to breathe, but you don’t want dust and bugs to be able to get in.
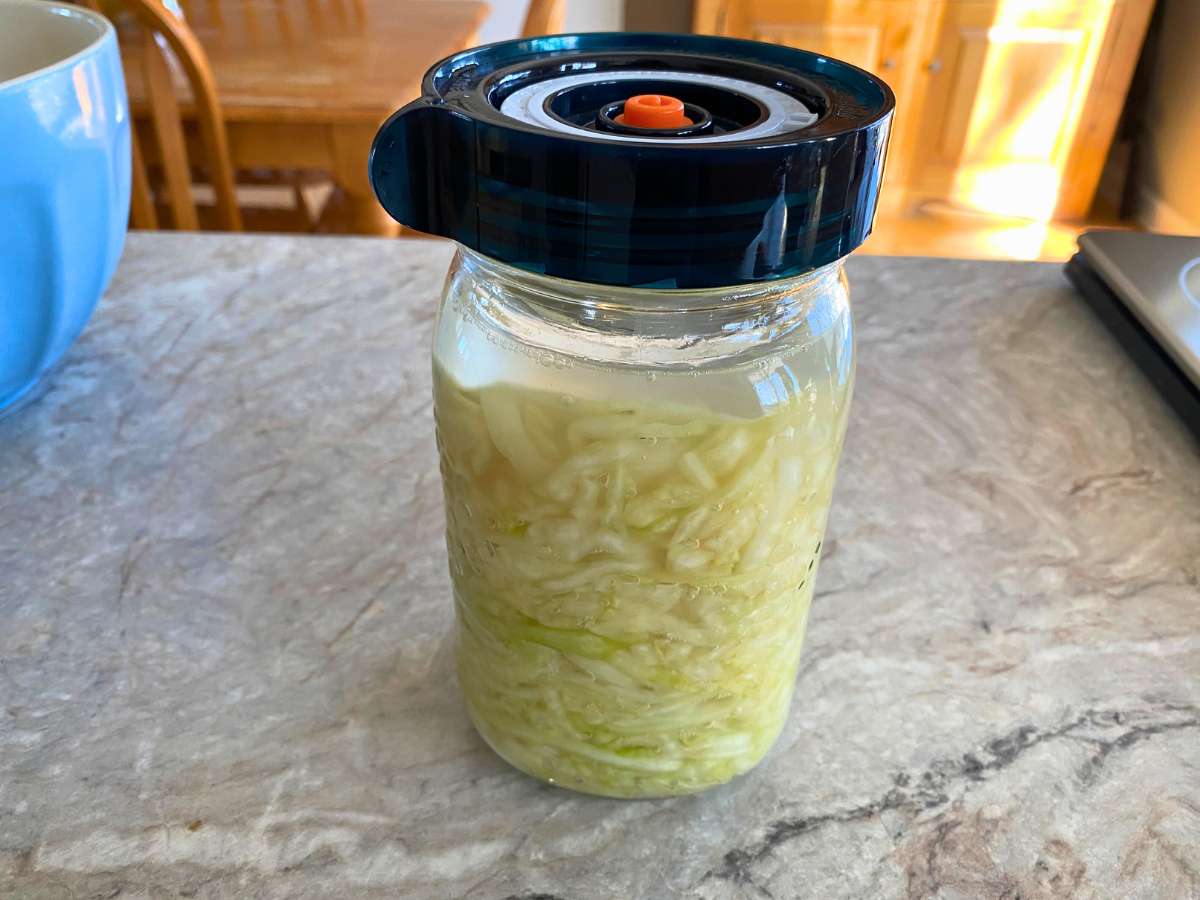
Alternately, you could use a mason jar lid – just keep it on loosely, or remember to “burp” your jar daily by loosening and re-tightening the lid. (There will be a buildup of gasses that need to be released).
If you use the Easy Fermenter lids, you can set the date on the lid that you want to start checking your sauerkraut. Otherwise, you can just write on the jar. (I like these chalk markers for writing on mason jars).
7. Ferment the Sauerkraut
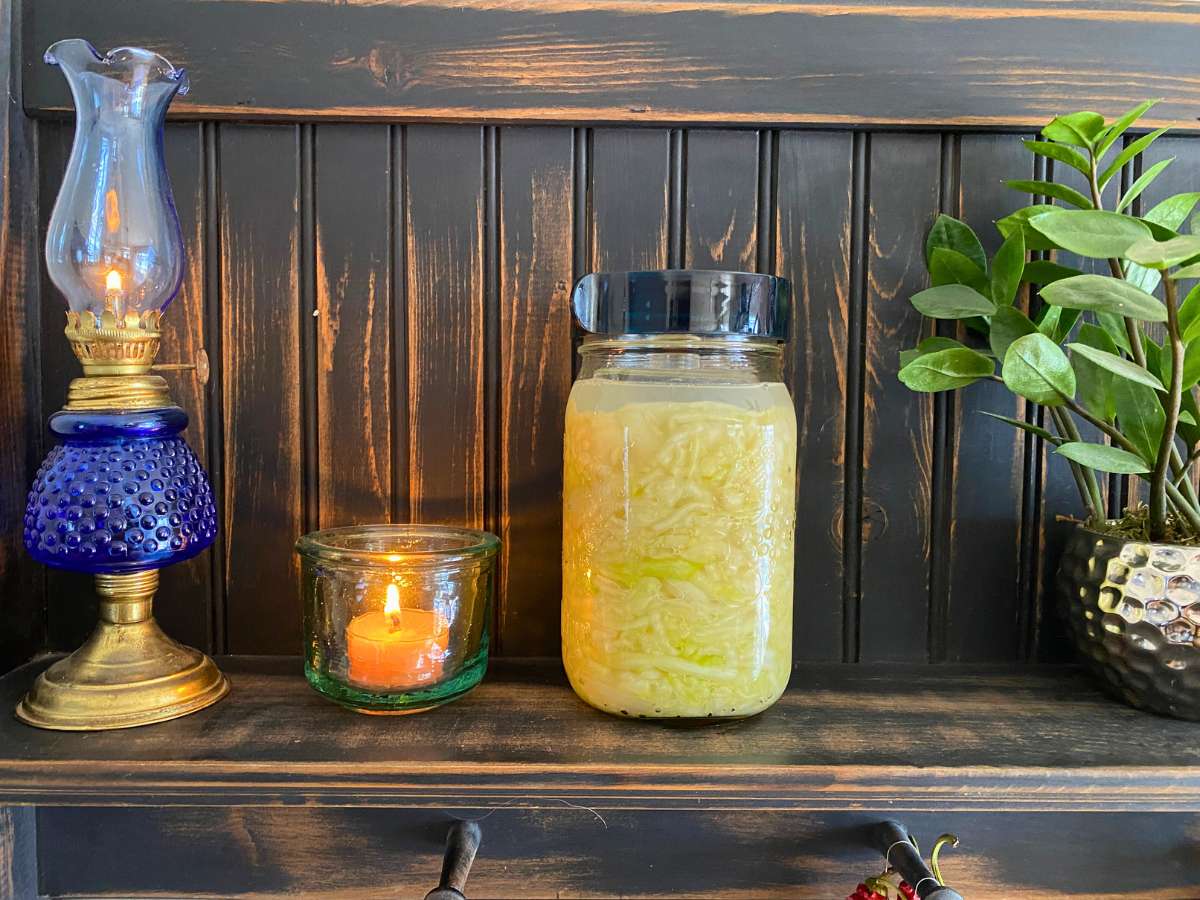
Place the mason jar sauerkraut in a spot that’s out of direct sunlight, but where you won’t forget about it. I use a shelf in my kitchen. The corner of your countertop will usually work just fine.
Ferment the cabbage for 3-10 days.
After about 3 days, you can start checking your sauerkraut to see if it’s fermented to your liking. I usually like mine after about 7 days. Some people prefer to let it go longer. How long you let it ferment is personal preference.
8. Store Your Sauerkraut
When your mason jar sauerkraut is done to your liking, you will want to move it into cold storage to halt (or slow) the fermentation process.
Remove the lid/cloth, weight, and cabbage leaf from your sauerkraut. Apply a regular mason jar lid (I prefer plastic lids, as they don’t react with the salt like metal does), and place it in the refrigerator, or cold room/root cellar if you have one.
The idea is to keep it cold so it doesn’t continue to ferment.

How Long does Sauerkraut Store in the Refrigerator?
When properly stored, fermented sauerkraut will last 6-12 months in the refrigerator.
To extend the life of your sauerkraut, keep it near the back of your fridge. That way it won’t experience the temperature fluctuations like it would near the front of your fridge.
How to Eat Sauerkraut
So you’ve made yourself some mason jar sauerkraut. Yay! Now how do you actually eat the stuff? Here are a few delicious ways you can eat sauerkraut:
- As a plain side to any meal
- Topping for hot dogs or sausages
- Served with pork chops
- On top of eggs (fried or poached)
- On sandwiches or wraps
What is the Best Jar to Make Sauerkraut In
I prefer to make sauerkraut in a wide mouth, quart sized canning jar. But you could also divide it into two pint-sized jars, or simply use any jar you have around the house.
Can You Can Sauerkraut?
This is a pretty common question, and the answer is – yes, but do you want to?
Since the main benefit of sauerkraut is the live bacteria, generally you want your sauerkraut to be raw, and stored in a refrigerator. Especially if you are looking for the health benefits of sauerkraut. Canning sauerkraut will cook it – and at the same time, kill all those beneficial bacteria.
However, if you don’t care about the health benefits, and simply want the sauerkraut taste, you can go ahead and can it! Canning sauerkraut makes it shelf stable, so you don’t have to store it in the refrigerator.
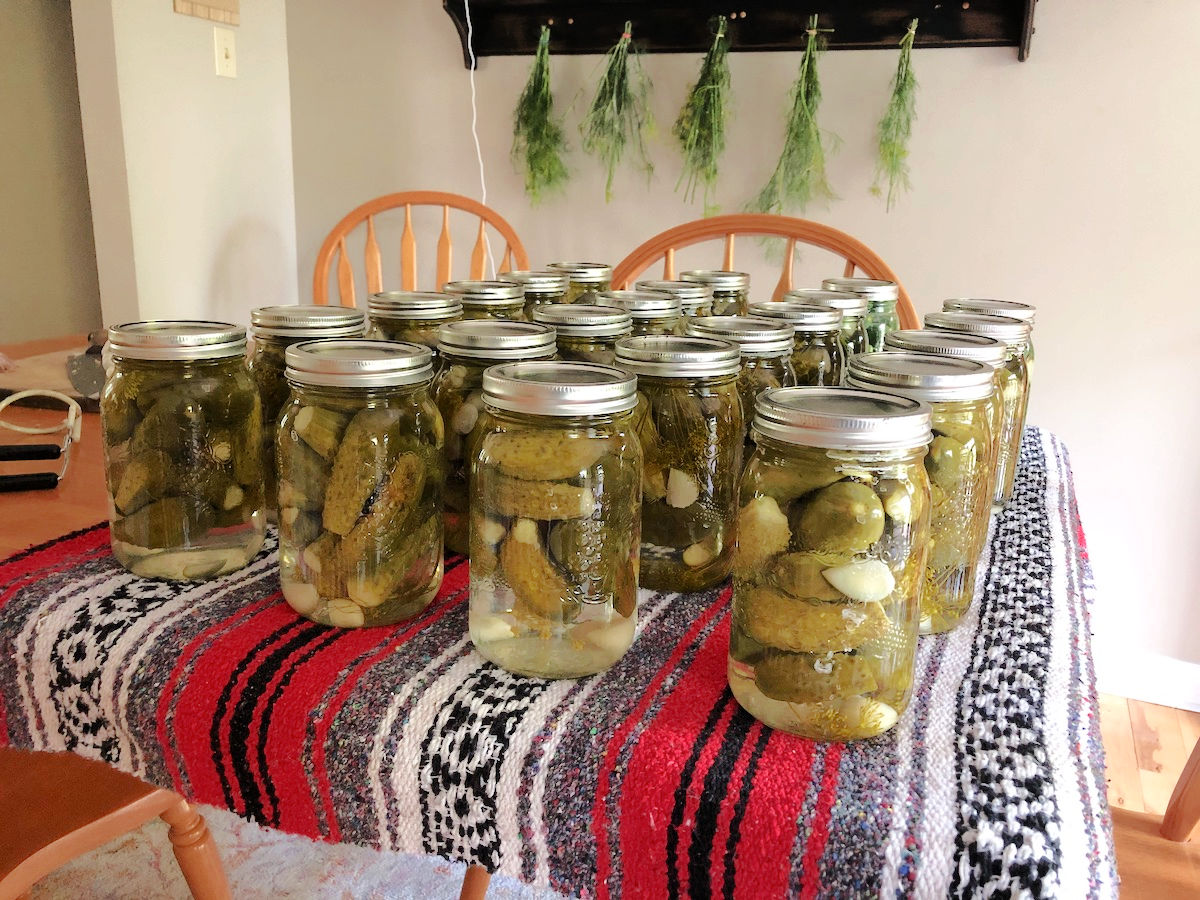
Other Fermented Foods Recipes
Want to try more fermented foods? Here are some other recipes you might like:
Fermented Cherry Tomatoes
Fermented Sweet Pickle Relish
Fermented Red Onions
Fermented Green Beans
Fermented Honey Garlic
Pin It for Later
Save this to your Fermentation board on Pinterest!
Mason Jar Sauerkraut

This simple mason jar sauerkraut recipe uses just 2 ingredients: cabbage and salt. There are additional optional ingredients if you wish to add them.
Ingredients
- 800 grams Green Cabbage (approx 1/2 medium head)
- 1 Tbsp Sea Salt
Optional Ingredients
- Carrots
- Red cabbage
- Juniper berries
- Garlic
- Caraway Seeds
Instructions
- Weigh and tare your bowl
- Grate/slice any optional/additional ingredients and add them to your bowl
- Remove and discard outer cabbage leaves until you see fresh, healthy-looking cabbage
- Remove one fresh cabbage leaf and reserve for later
- Quarter your cabbage
- Slice your cabbage lengthwise into thin slices and add to your bowl until you reach 800 grams (approximately 1/2 a medium head of cabbage)
- Measure 1 Tbsp sea salt and sprinkle over the cabbage
- Optional: Mix the salt into the cabbage and let it sit for 20 minutes to draw some moisture out of the cabbage
- Squeeze and massage the cabbage until it reduces in volume and there is a small puddle of liquid in the bottom of the bowl (5-10 minutes)
- Pack the cabbage into your mason jar in layers, using the kraut pounder or your fist to pack it down as you go
- Pour the liquid from the bottom of your bowl over the cabbage
- Push down any stray bits of cabbage that are around the inside rim
- Place the ring of a mason jar lid on top of your reserved cabbage leaf, and cut around it using a paring knife
- Insert the cabbage leaf circle into the jar to cover the shredded cabbage
- Place your glass weight on top of the cabbage leaf, pushing down a little until you see the brine rise up over the leaf
- Apply your fermentation lid (or other lid/napkin) over the jar
- Ferment for 3-7 days or longer - start tasting after 3 days until it is to your liking
- When you're done fermenting, remove the weight and lid, add a plastic mason jar lid, and transfer to your fridge or cold storage room


Thank you for this highly informative article. It makes me think that even I could do this!
You definitely can! Come back and let us know if you do. 🙂
I’ve been making sauerkraut for a while now, and can say that it will last a LOT longer than 6-12 months in the fridge. I made a batch of bavarian kraut (has sugar and caraway seeds in it), stuck the gallon mason jar in the back of the beer fridge after a month on the counter… and then totally forgot it was there.
Two years later I saw it again. Hey it’s a garage fridge full of beer that I don’t get into often. I really thought it’d be ruined, but to my shock it was the best batch I’ve ever made.
I’ve had a similar experience! Ultimately, how long we are comfortable eating something we’ve stored is a personal decision – 6-12 months is probably a reasonable timeframe for most people, but I agree that it will likely be fine for even longer. One of the many benefits of fermenting. 🙂