Fermented Green Beans with Easy Fermenter Lids

Making fermented green beans is a great way to preserve handfuls of green beans as they come in from the garden. Not only are these fermented dilly beans delicious, but they are bursting with gut-healthy probiotics, and will store much longer in your fridge than fresh green beans!

Why I love fermenting foods:
There are so many great reasons to ferment foods!
Even just adding a small amount of a fermented food to each meal will help support your digestion and overall gut health.
Fermented foods:
- help maintain a healthy gut flora
- are raw, so you don’t lose nutritional value like you do with canning
- helps extend the refrigerator life of fresh foods
- helps us absorb more nutrients from the food
- are quick and easy to make
- you can make just one jar at a time!
If you want to learn more about fermented and cultured foods, a great resource is Cultures for Health!
This post contains affiliate links, which means if you make a purchase through one of these links, I may earn a small amount of commission at no extra cost to you. See full disclosure here.
Ingredients for Fermented Dilly Green Beans
- Approx 1 lb green beans
- 2-3 Tbsp non-iodized salt (I use Redmond’s Sea Salt, which I order in a 10 lb bucket)
- 1-2 tsp hot pepper flakes (depending on your heat preference)
- 1 tsp peppercorns
- A few sprigs of dill (preferably flowering heads, but if you don’t have those, you can use leaves or dried dill)
- 3-4 fresh garlic cloves
- 1 quart filtered water*

A note about water for fermentation:
*When fermenting, it’s very important to use non-chlorinated, filtered water. Chlorine will halt the fermentation process, as it won’t allow the beneficial bacteria to grow.
One of the best investments I’ve ever made, was my Berkey Water Filter. I bought this when we lived in town, since we were on city water, which was chlorinated and had who-knows-what in the water supply.
I wanted the BEST water filter I could get my hands on, and all my research pointed to the Berkey.
The Berkey removes 99.999% of all contaminants (including chlorine, viruses, bacteria etc), and there are optional fluoride filters you can add on, if your water supply is fluoridated.
What I LOVE about the Berkey Water Filter:
- The carbon filters last FOREVER (like 5-7 years)
- It’s gravity-fed (no electricity required)
- Great for emergencies, as it will turn any kind of water into pure, clean drinking water
- It’s portable – perfect to take camping, on road trips, or even to keep in an outdoor area at home to have access to drinking water where there is no tap
Supplies for Fermented Green Beans
- Quart sized mason jar
- Fermentation weight
- Fermentation lid
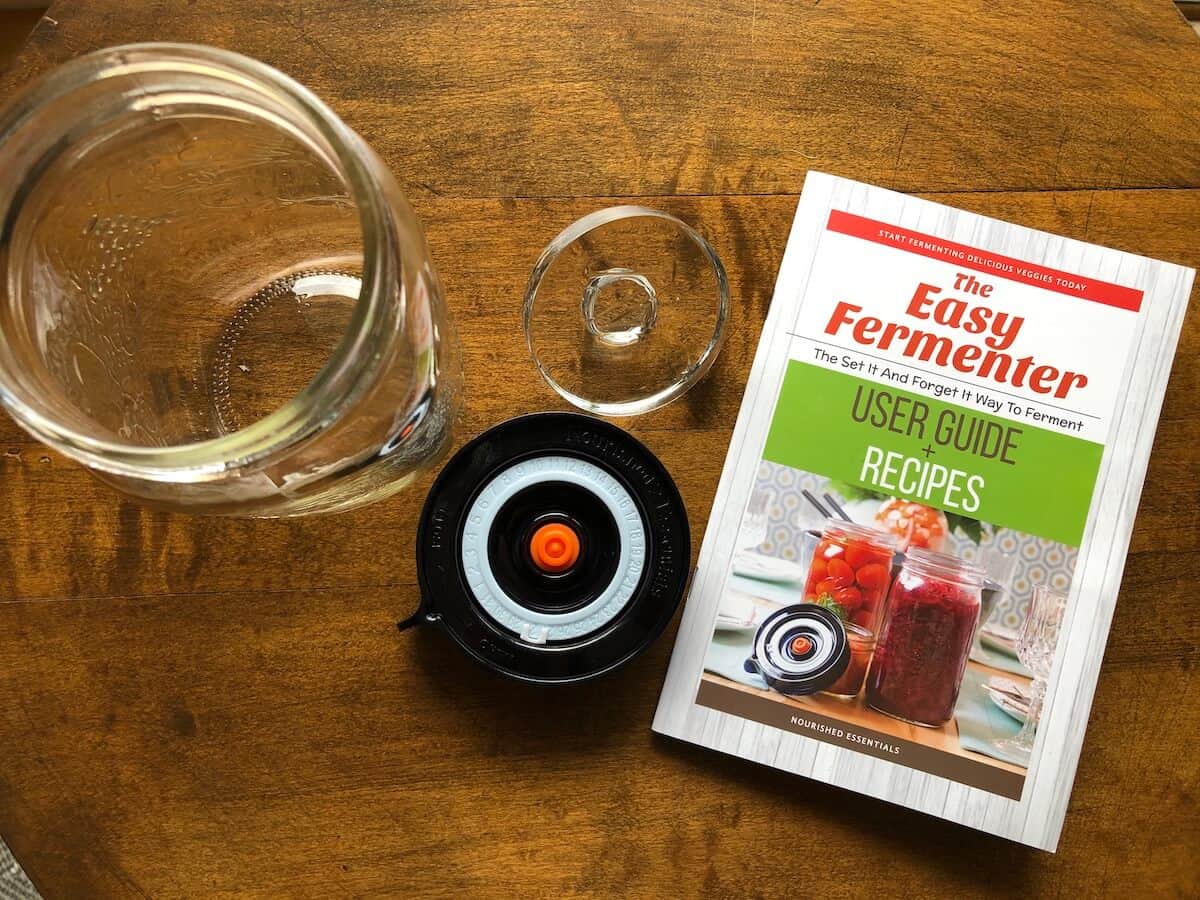
I absolutely love my Easy Fermenter kit from Nourished Essentials.
It includes everything you need to get started with fermentation, except the mason jars (which most of you will already have!).
- Fermentation Lids
- Glass Fermentation Weights
- A Recipe Book wth lots of awesome recipes (which you can follow exactly, or use as a jumping-off point to create your own recipes!)
And yes, the recipe book includes a recipe for fermented green beans! This is what I used as my inspiration.
If you don’t have a fermentation weight or lid, don’t worry! I’ll share some other options you can use. You can definitely ferment without fancy equipment!
Directions for Fermented Green Beans
1. Make Your Brine
In a pot on the stove, gently heat the quart of filtered water and stir in the sea salt until it dissolves. You don’t want the water to get hot, just slightly warm so that it dissolves the salt.

2. Prepare Other Ingredients
- gently wash your green beans with water only (you want to retain some of the natural bacteria and yeast). Snap off the stem and snap the beans in half if they’re too long to fit in your jar.
- Peel your garlic cloves
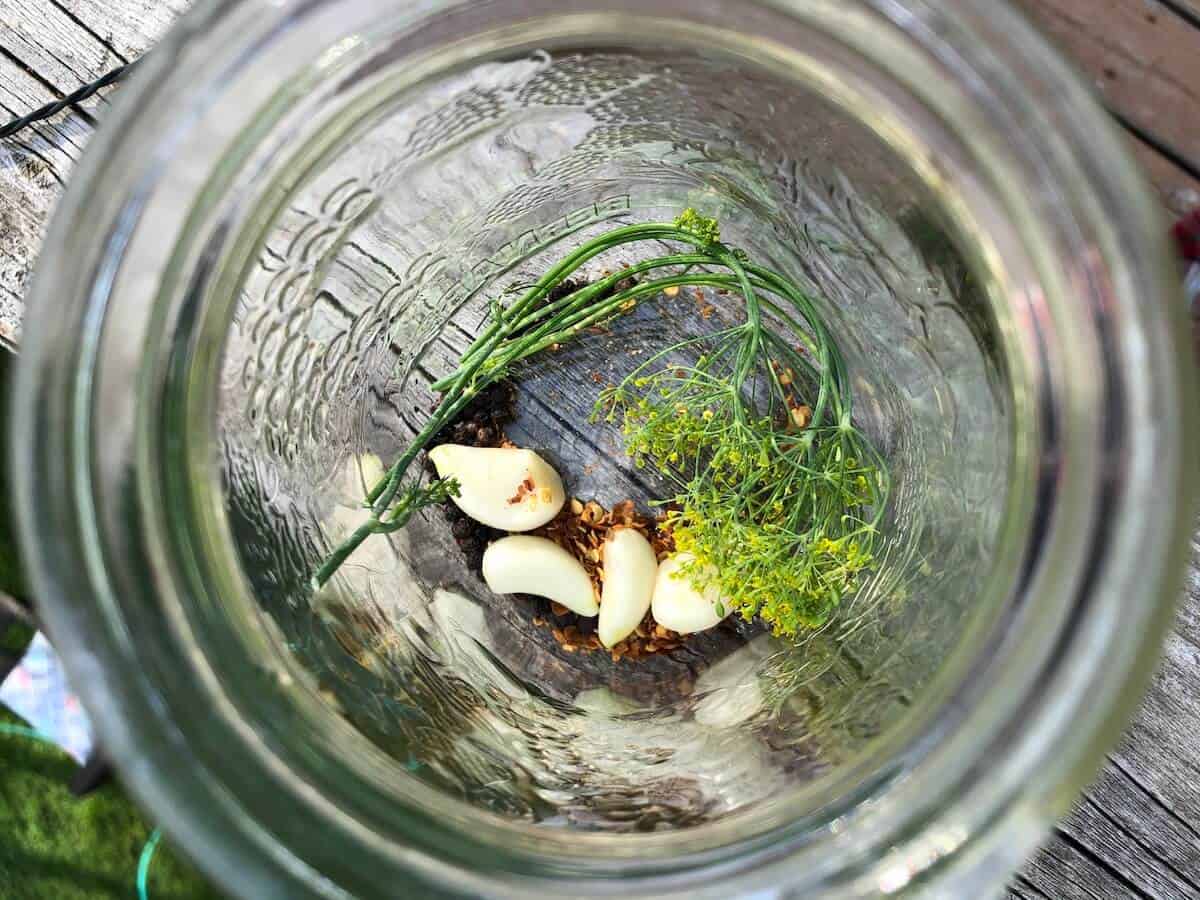
- Place all your herbs and spices into your mason jar
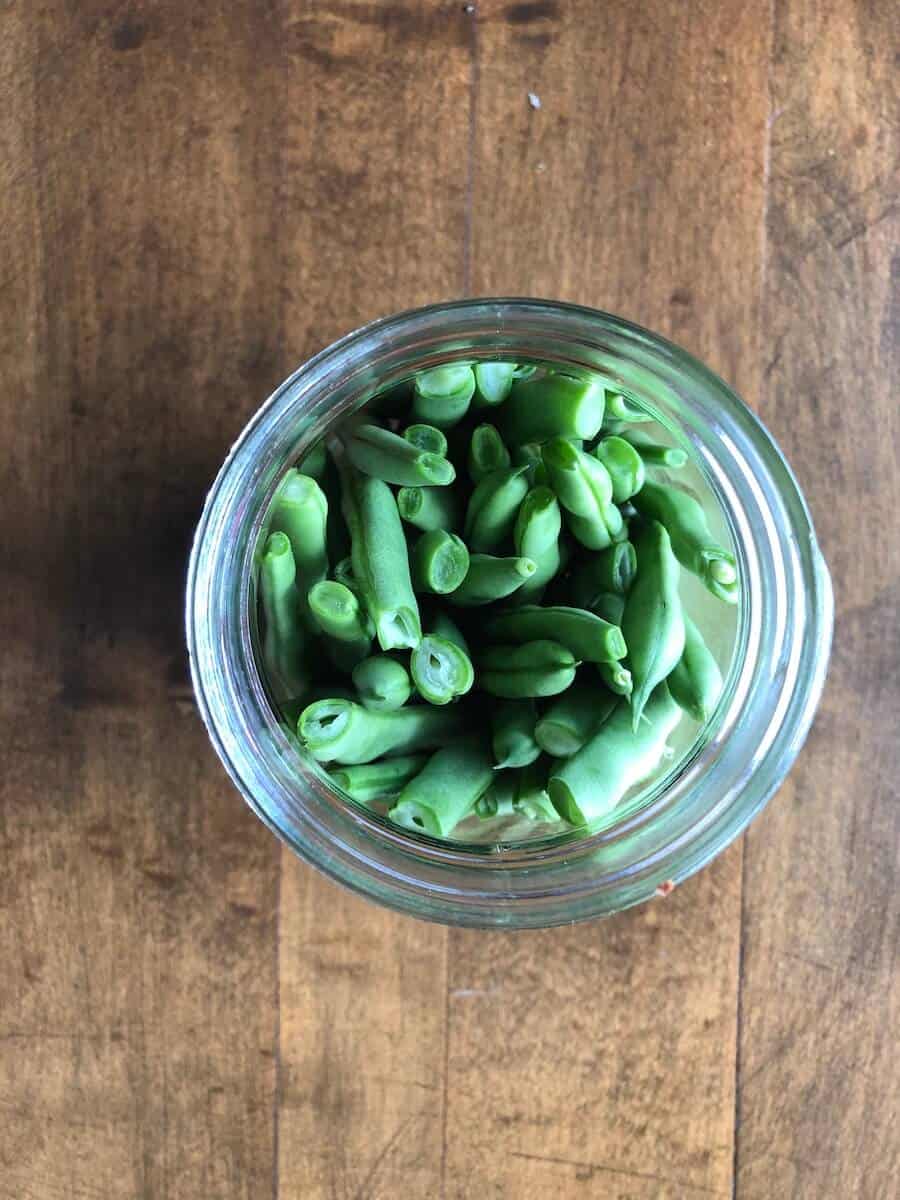
3. Add Green Beans
Next, tightly pack your green beans into your mason jar. I find it works best if I hold the jar at a 45 degree angle and stack the beans in that way. Then I can pack them tightly without them falling over.
Try to ensure your beans aren’t sticking up too high. We want to leave about 1″ of head space at the top of the jar, which is about where the threads start for where you put the lid on.
If you have beans sticking up higher than that, try to shove them down, or break them in half if needed.
4. Pour Brine Over Beans
Once all your beans are in the jar, give your brine a good stir to make sure all the salt has dissolved, and check it to make sure it’s not too warm (if it’s too warm, it will actually kill off any beneficial microbes). If it’s too warm, let it cool down a little first.
Then go ahead and pour your brine over the beans.

You’ll want your water level to sit right about where the bottom of the threads are. You may wish to use a wooden chop stick to push down into the beans and release any air bubbles that will be trapped in there.
When the air bubbles are released, your brine level may drop down a little. Just top it off with a little more brine.

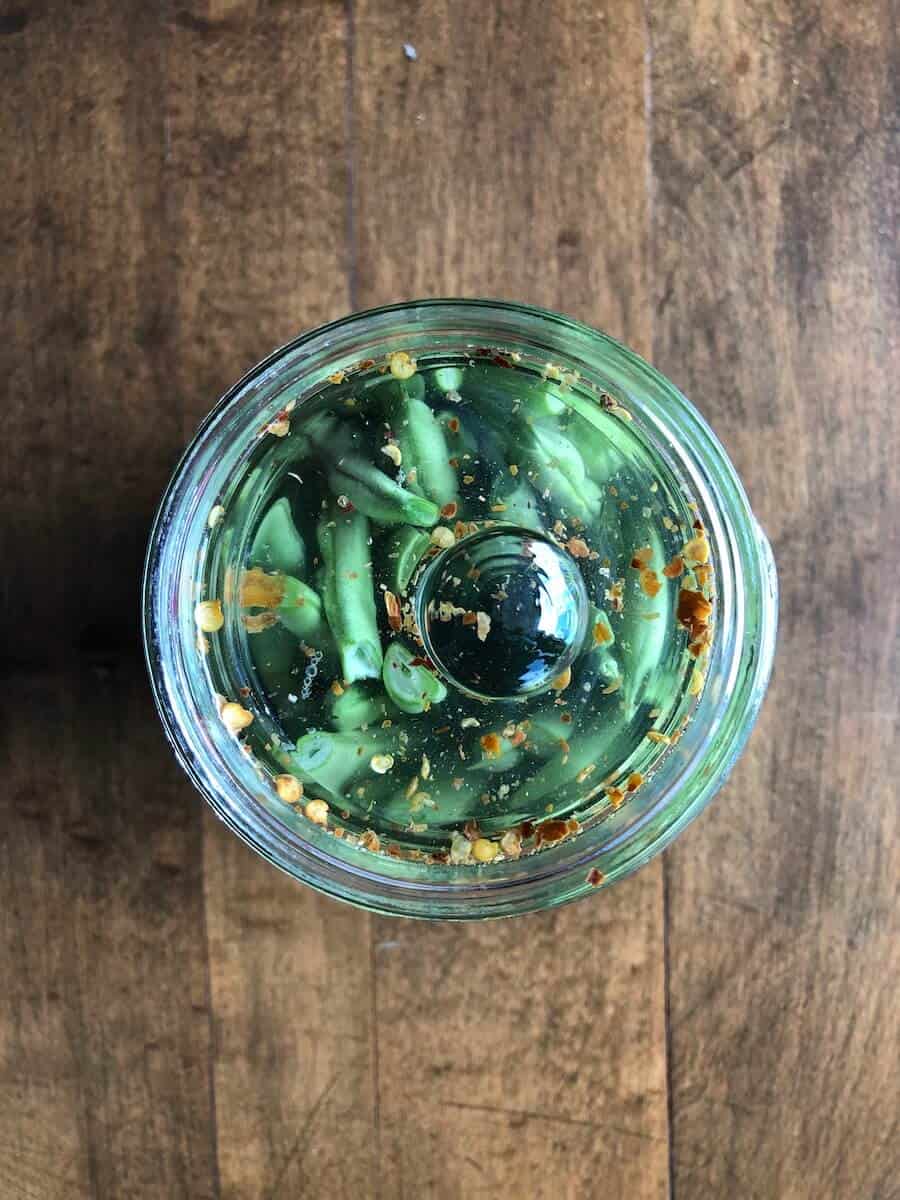
5. Add Fermentation Weight
Next, go ahead and place your clean fermentation weight on top of your beans.
It may want to try to tip sideways on you, just try to straighten it up as best you can, and make sure all the beans are submerged under the brine.
Sometimes the spices may float up to the top, but this usually isn’t an issue, especially with the fermentation lid.
If you don’t have a fermentation weight, the other option is to wrap a cabbage leaf or a grape leaf over the top of the beans, then use something heavy (like a rock) to hold it down.
Some people will wrap the rock in a plastic bag first, because rocks are porous and you never know if there could be some kind of bacteria or something in them.
6. Add Fermentation Lid
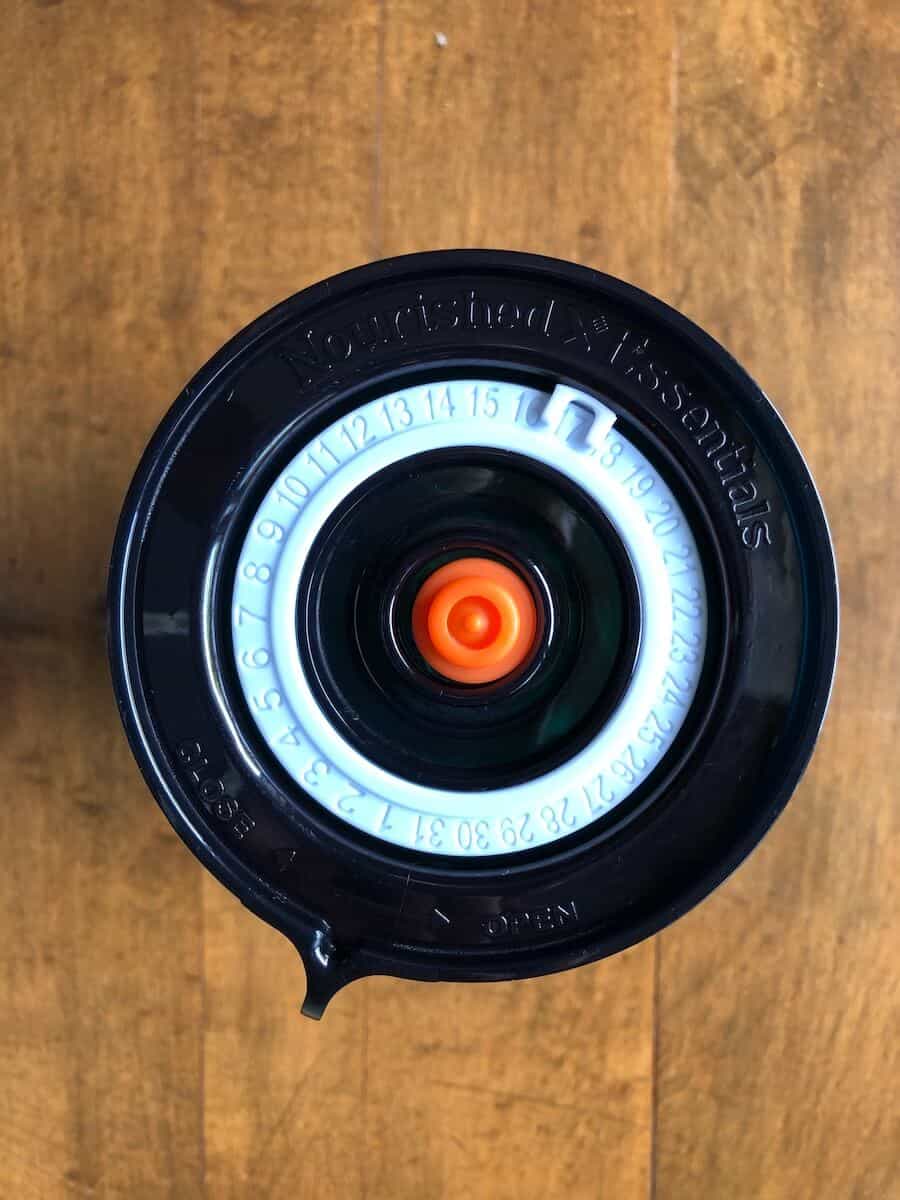
Your last step is to place your fermentation lid on top of the beans. Simply screw it onto the jar.
The Nourished Essentials Easy Fermenter lids include a date dial, which is incredibly handy!
If you have several ferments going at once, it’s easy to forget when you started them.
So I usually set today’s date on the dial, then write on the front of the jar how many days I want to ferment.
If you don’t have a fermentation lid, you can simply use a regular mason jar lid, just don’t screw it on too tightly.
You may need to burp the jar once a day (by loosening and re-tightening the lid), to allow gasses to escape.
You just want to be extra mindful of cleanliness, to avoid having any bacteria enter your fermentation vessel.
These fermented green beans are a 3-7 day ferment, so I just write 3-7 days on the front of the jar.

7. Test Your Dilly Beans
After 3 days, I’ll test a green bean and see if I think it’s ready.
If they’re not ready, keep testing every 1-2 days until you think they’re done. (Very scientific, I know!)
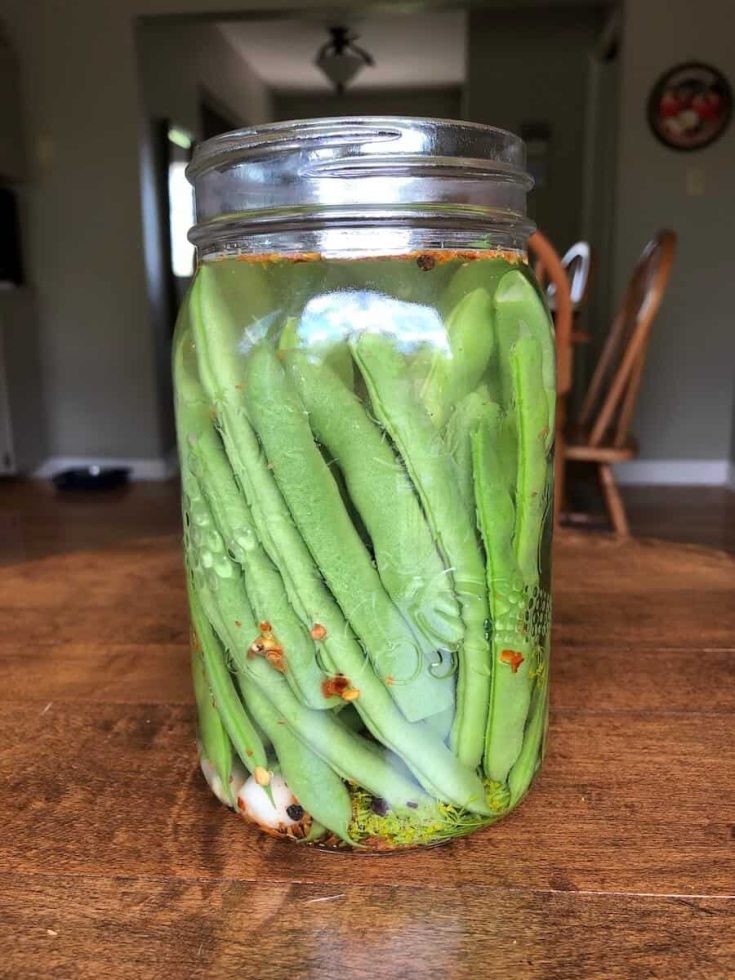
The green beans should be slightly softened by the fermentation (but not mushy), and have a tangy, sour flavour. If so, they’re done, and can be moved to the refrigerator!
The colour will also turn from a vibrant green, to a paler green colour (as you can see in the photo above).
8. Switch Lid & Refrigerate
When your fermented green beans are done to your liking, remove the fermentation lid and glass weight, and apply a regular plastic lid.
This way you can use your weight and lid for another fermentation project!
(I prefer plastic lids, because metal can react with the salt in the ferment, causing it to rust, which can be unappetizing!).
How long will fermented green beans last in the refrigerator?
These fermented green beans will keep up to 6 months in the refrigerator once fully fermented, but I bet they’ll get eaten up long before then!

Fermented Dilly Beans
Ingredients
- 1 lb green beans
- 2-3 Tbsp non-iodized salt I use Redmond’s Sea Salt, which I order in a 10 lb bucket
- 1-2 tsp hot pepper flakes depending on your heat preference
- 1 tsp peppercorns
- A few sprigs of dill preferably flowering heads, but if you don’t have those, you can use leaves or dried dill
- 3-4 fresh garlic cloves
- 1 quart filtered water
Instructions
1. Make Your Brine
- In a pot on the stove, gently heat the quart of filtered water and stir in the sea salt until it dissolves. You don't want the water to get hot, just slightly warm so that it dissolves the salt.
2. Prepare Other Ingredients
- gently wash your green beans with water only (you want to retain some of the natural bacteria and yeast). Snap off the stem and snap the beans in half if they're too long to fit in your jar.
- Peel your garlic cloves
- Place all your herbs and spices into your mason jar
- 3. Add Green Beans
- Tightly pack your green beans into your mason jar. I find it works best if I hold the jar at a 45 degree angle and stack the beans in that way. Then I can pack them tightly without them falling over.
- Try to ensure your beans aren't sticking up too high. We want to leave about 1" of head space at the top of the jar, which is about where the threads start for where you put the lid on.
- If you have beans sticking up higher than that, try to shove them down, or break them in half if needed.
4. Pour Brine Over Beans
- Once all your beans are in the jar, give your brine a good stir to make sure all the salt has dissolved, and check it to make sure it's not too warm (if it's too warm, it will actually kill off any beneficial microbes). If it's too warm, let it cool down a little first.
Then go ahead and pour your brine over the beans.
5. Add Fermentation Weight
- Next, go ahead and place your clean fermentation weight on top of your beans.
- It may want to try to tip sideways on you, just try to straighten it up as best you can, and make sure all the beans are submerged under the brine.
6. Add Fermentation Lid
- Your last step is to place your fermentation lid on top of the beans. Simply screw it onto the jar.
7. Ferment for 3-7 days
- Leave your ferment on your countertop for 3-7 days. Any time after 3 days you can start testing the beans to see if they're done to your likeness.
8. Remove fermentation weight and lid,
- Apply a regular plastic mason jar lid and transfer to fridge. Your fermented dilly beans will store in the fridge up to 6 months!
Notes
Nutrition
I hope you enjoy this simple recipe for fermented green beans.
Once you start fermenting things, it’s totally addictive, and you’ll suddenly find yourself wondering what else you can ferment!
Here are some ideas for you.
Other fermented recipes you might like to try:
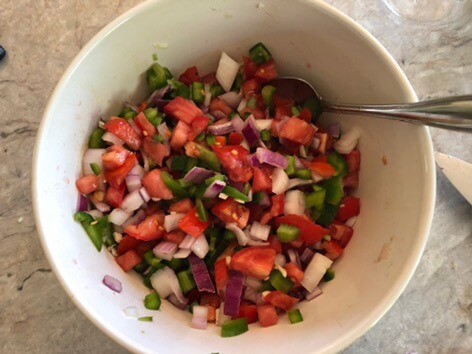
Simple Lacto-Fermented Salsa in a Mason jar
Lacto-Fermented Beets
Fermented Cherry Tomatoes
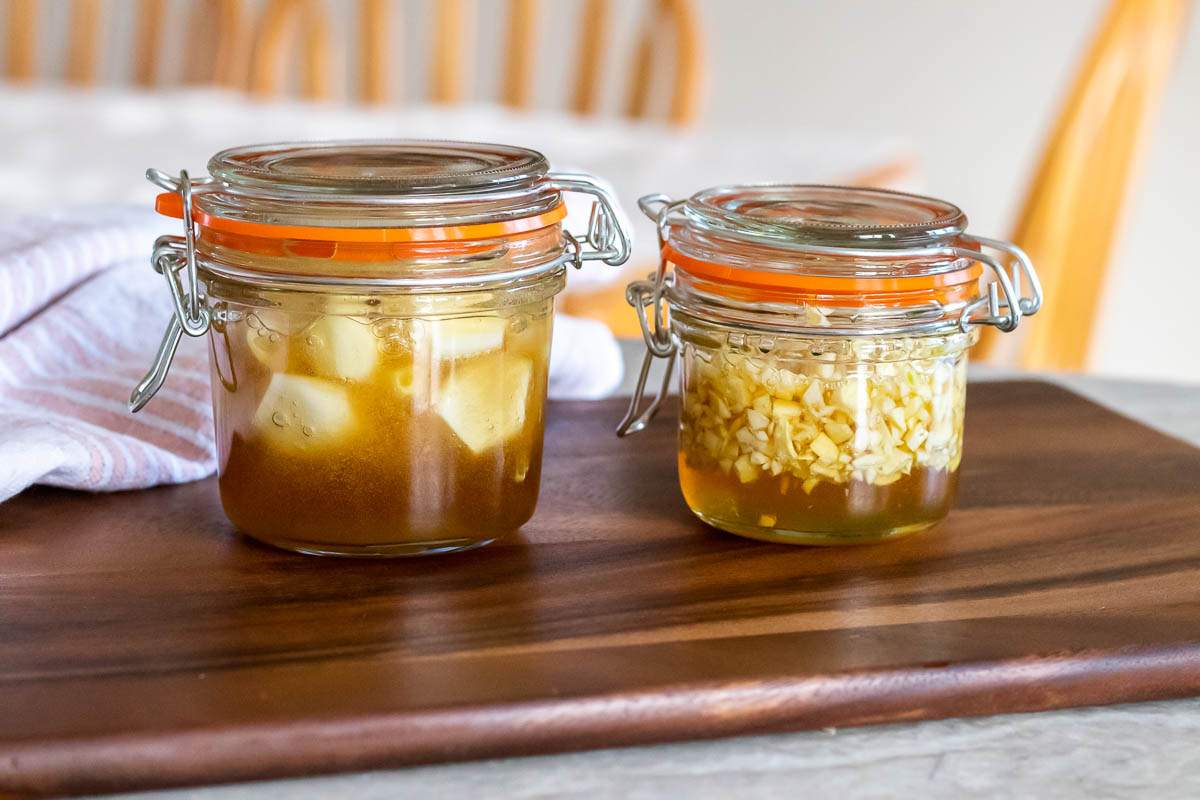
Fermented Red Onions
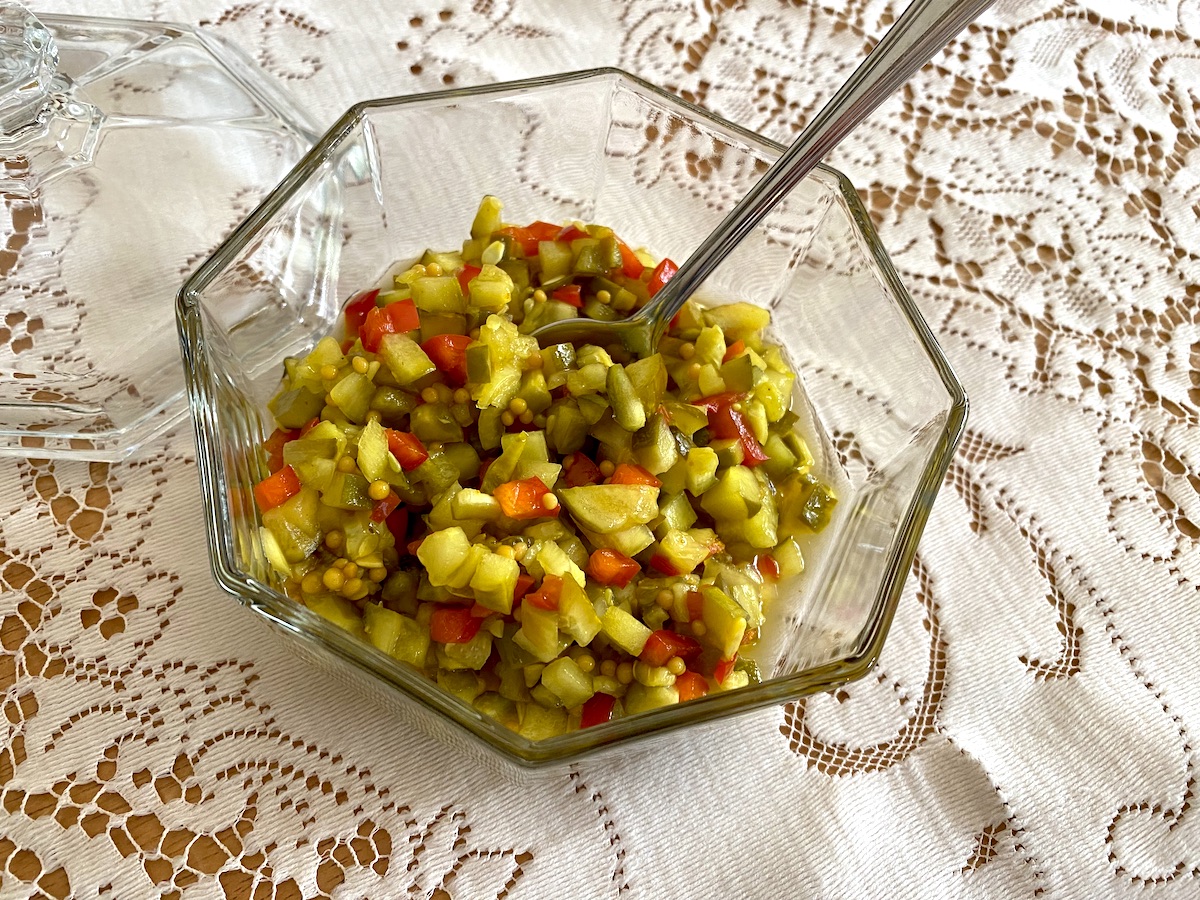
Fermented Sweet Pickle Relish
Pin this for later:

Fermented Dilly Beans
Not only are these fermented dilly beans delicious, but they are bursting with gut-healthy probiotics, and will store much longer in your fridge than fresh green beans!
Ingredients
- 1 lb green beans
- 2-3 Tbsp non-iodized salt (I use Redmond's Sea Salt, which I order in a 10 lb bucket)
- 1-2 tsp hot pepper flakes (depending on your heat preference)
- 1 tsp peppercorns
- A few sprigs of dill (preferably flowering heads, but if you don't have those, you can use leaves or dried dill)
- 3-4 fresh garlic cloves
- 1 quart filtered water
Instructions
1. Make Your Brine
In a pot on the stove, gently heat the quart of filtered water and stir in the sea salt until it dissolves. You don't want the water to get hot, just slightly warm so that it dissolves the salt.
2. Prepare Other Ingredients
- gently wash your green beans with water only (you want to retain some of the natural bacteria and yeast). Snap off the stem and snap the beans in half if they're too long to fit in your jar.
- Peel your garlic cloves
- Place all your herbs and spices into your mason jar
3. Add Green Beans
Tightly pack your green beans into your mason jar. I find it works best if I hold the jar at a 45 degree angle and stack the beans in that way. Then I can pack them tightly without them falling over.
Try to ensure your beans aren't sticking up too high. We want to leave about 1" of head space at the top of the jar, which is about where the threads start for where you put the lid on.
If you have beans sticking up higher than that, try to shove them down, or break them in half if needed.
4. Pour Brine Over Beans
Once all your beans are in the jar, give your brine a good stir to make sure all the salt has dissolved, and check it to make sure it's not too warm (if it's too warm, it will actually kill off any beneficial microbes). If it's too warm, let it cool down a little first.
Then go ahead and pour your brine over the beans.
5. Add Fermentation Weight
Next, go ahead and place your clean fermentation weight on top of your beans.
It may want to try to tip sideways on you, just try to straighten it up as best you can, and make sure all the beans are submerged under the brine.
6. Add Fermentation Lid
Your last step is to place your fermentation lid on top of the beans. Simply screw it onto the jar.
7. Ferment for 3-7 days
Leave your ferment on your countertop for 3-7 days. Any time after 3 days you can start testing the beans to see if they're done to your likeness.
8. Remove fermentation weight and lid,
Apply a regular plastic mason jar lid and transfer to fridge. Your fermented dilly beans will store in the fridge up to 6 months!
Nutrition Information
Yield
10Serving Size
1 quartAmount Per Serving Calories 19Total Fat 0gSaturated Fat 0gTrans Fat 0gUnsaturated Fat 0gCholesterol 0mgSodium 4190mgCarbohydrates 4gFiber 2gSugar 2gProtein 1g